How to Use Zapier to Auto Generate Multiple Social Media Images in One Zap
Contents
In the last tutorial we had a look at how the new Image Collections feature works using the API. Here's how to connect this feature with Zapier to start generating multiple images in your Zaps.
In a previous Bannerbear + Zapier tutorial we looked at how to auto generate Instagram Story size images from a news feed of the New York Times.
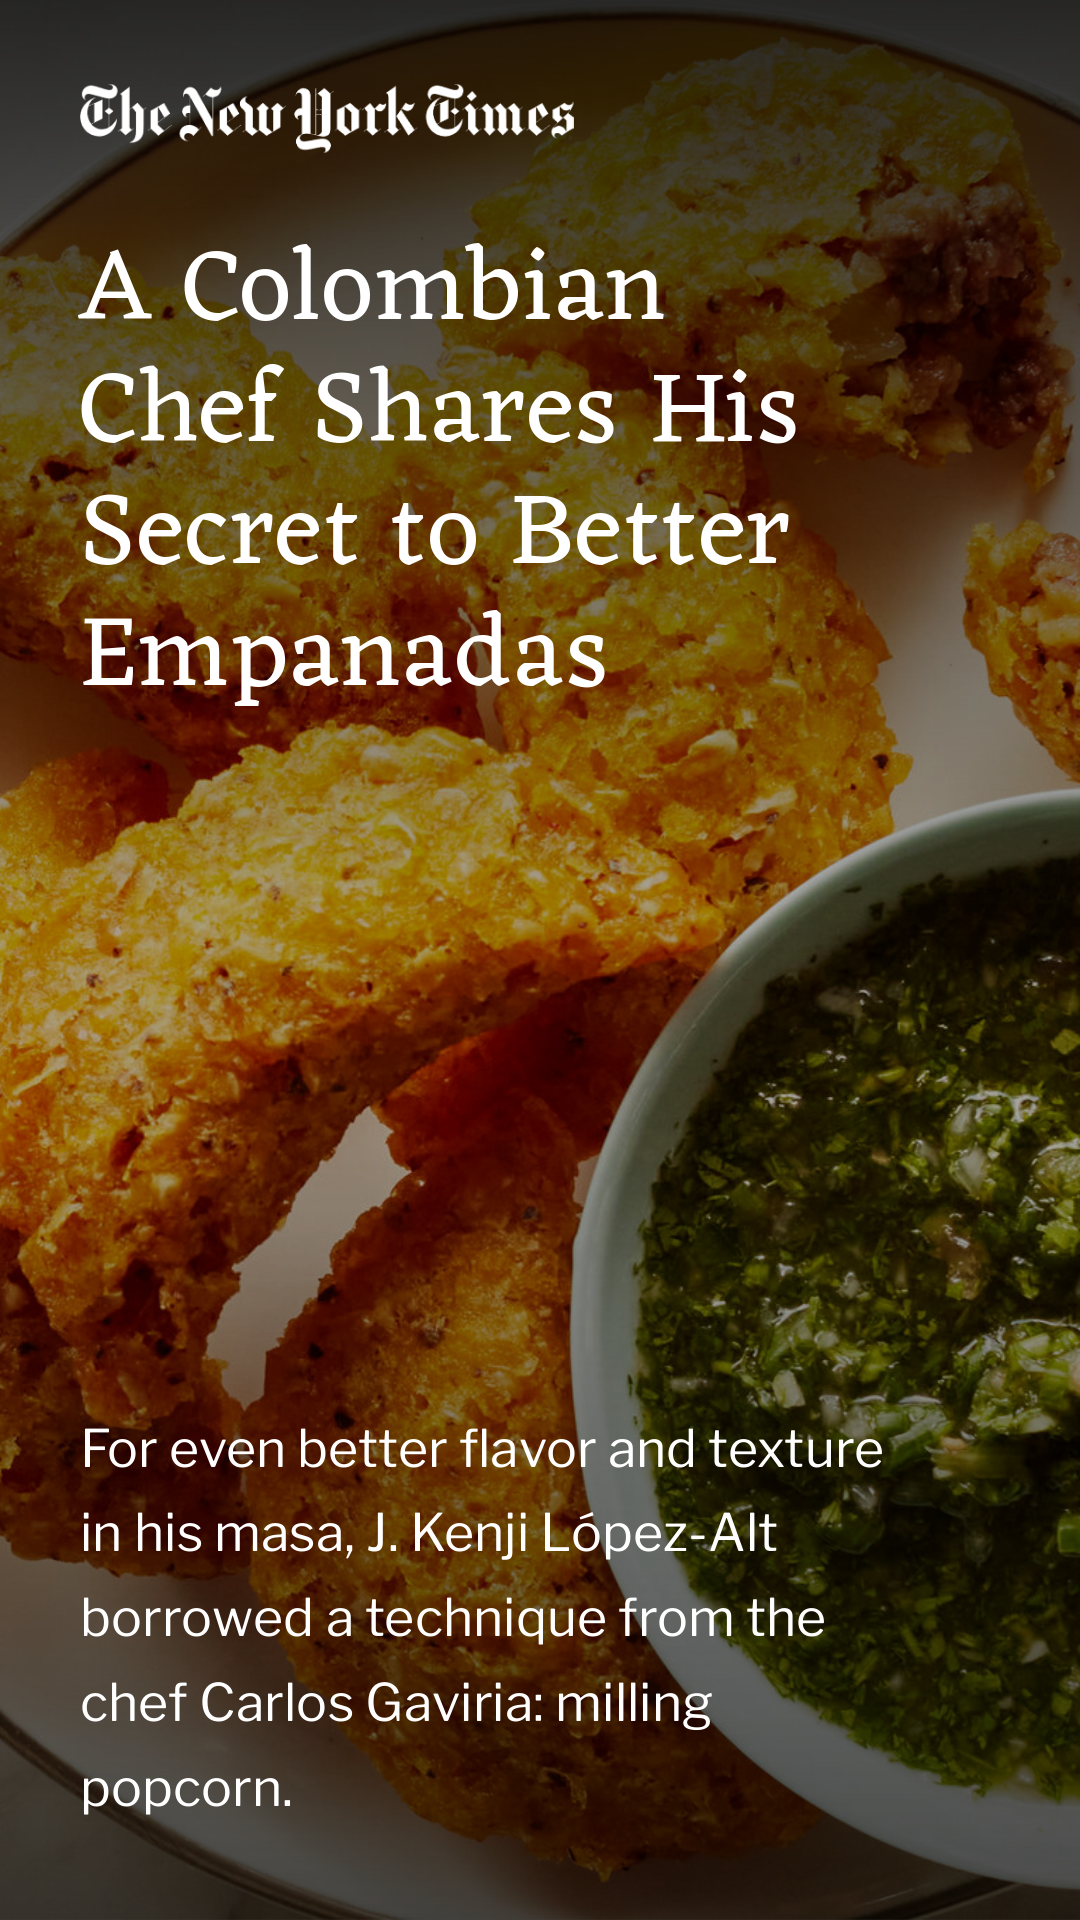
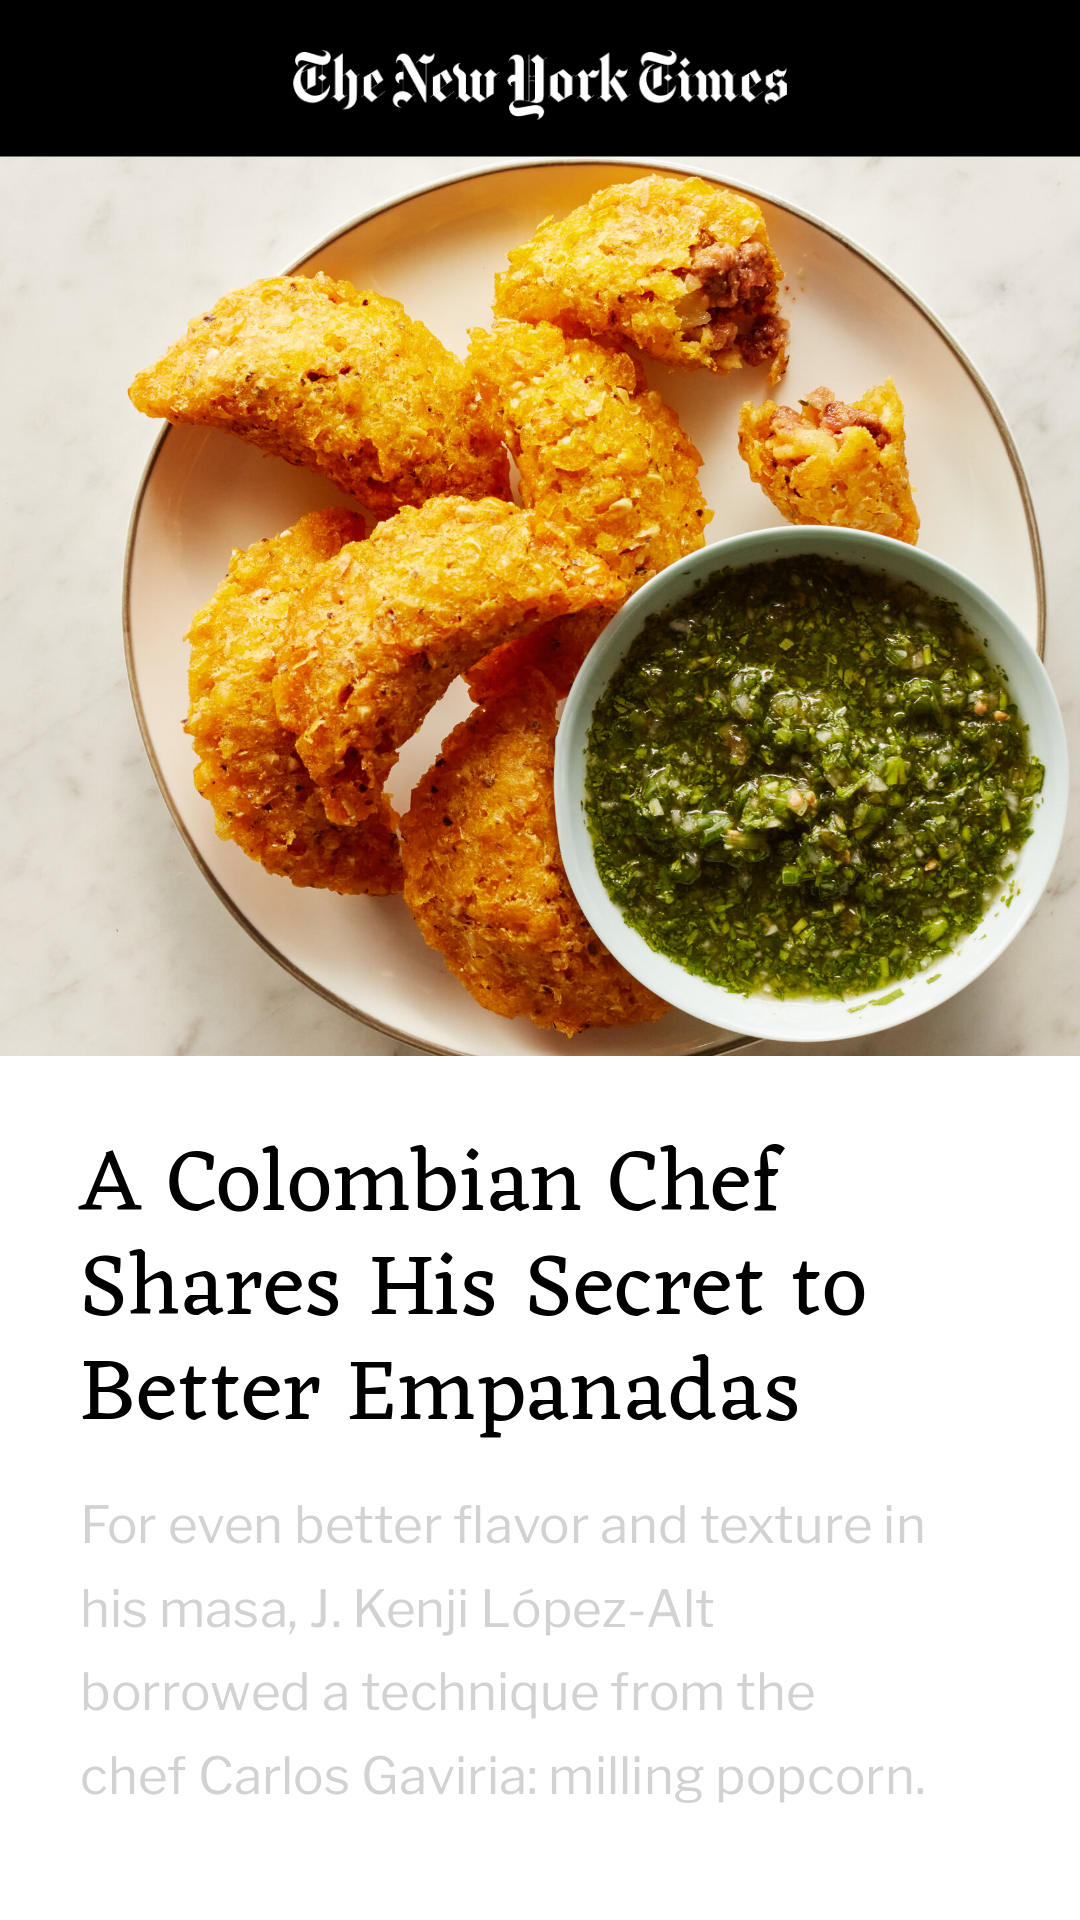
Lets keep the context similar - in this tutorial we will learn how to auto generate TWO different Instagram Stories from an article in the New York Times feed, using the new Image Collections feature. The results will look like this:


This will demonstrate the power of Template Sets and Image Collections - in this post we will generate 2 images from one Zap, but you could go on to add more templates to the set, resulting in a single zap that generates 5…10…20 images. It's all up to you :)
Adding Templates
Start a fresh project on Bannerbear and add the 2 New York Times templates to the project:


You should now see the 2 templates in your project (along with the Welcome Template):

Optional Step - Adjust Max Height
Before we go further I'm just going to tweak one of these templates. You don't have to do this, but I'll explain later in the tutorial why I'm adjusting one of the templates. If you'd like to follow along, edit the Instagram Story template and adjust the max height of the title to around 500:

Now it's time to group these templates together in a Template Set!
Creating a Template Set
Hit the Create Template Set button and you'll create an empty set.

A Template Set is basically a wrapper around a group of templates. You can add as many templates to a Template Set as you like. For now, lets add both the Story templates to this set:

That's it! Now we are ready to hook this up to a feed of data from Zapier.
Creating the Zap
In Zapier, create a new zap and select the New York Times article trigger. You can choose a category to pull data from, I'm using the Food category but this is your choice!

Trimming the New York Times data
Often you will need to massage data before sending to API services like Bannerbear. The New York Times service is a good example. It gives multiple images in the data for every article, in the form of an array, but we actually only want to pick one image (the first one) and send it to Bannerbear.
Zapier has a powerful tool called Formatter that can help us here. It can perform various transformations on data - in this case, taking an array and returning just the first result.
Add Formatter as the next step in your Zap and choose the Utilities action:

We want to configure this step to take the "Multimedia URL" array and return the first item. Set up Utilities like this:
- Transform: Pick from List
- Operation: Choose First
- Input: Multimedia URL

Test the output. What you are looking for is that "output" gives a single URL instead of a whole bunch of urls.

Connecting Zapier to Bannerbear
For the Zapier app in the next step, choose Bannerbear. Zapier will ask for your Project API Key which you can find in your Bannerbear Project Settings.
Choose the new Create Collection option from the available Zapier events.

If you have been following this tutorial there should only be 1 Template Set available in the dropdown menu, which is the one we created in a previous step.
Now it's time to push data to this Template Set!
In Zapier, choose your Template Set (most likely called Template Set 1) and Zapier will load all of the template layers that you can manipulate.
These templates are pretty simple and there's really only 3 things we want to manipulate:
- Background image
- Abstract
- Title
Here's how to do that:
- Connect Background Image URL to the Formatter Output
- Connect Abstract Text to the NYT Abstract
- Connect Title Text to the NYT Title
For 2 and 3 set "Auto Fit" to True.

Auto Fit is a new feature that does two-way resizing on text. When a max height is set on text in a template editor, Bannerbear automatically resizes long amounts of text to prevent overflow over the max height. What Auto Fit does is resize in the other direction; if your text is too small for the text box, Auto Fit will scale up the text to fit the max height.
In a nutshell, if you always want text to fit a certain size of container, set a max height in the editor and set Auto Fit to True in Zapier!
Run the test to push data to Bannerbear. If everything works correctly after a few seconds you will see a green response:

If you go back to Bannerbear and view your Template Set you can verify that a new Image Collection has been generated (Image Collections are displayed at the bottom of your Template Set):

Congratulations! You just auto-generated 2 different Instagram Story designs using Zapier and Bannerbear. If you turn this zap on, Bannerbear will now generate 2 new designs every time there is a new article on the New York Times.
Next Steps
In the real world, you will most likely want to do something with these generated images, for example:
- Post the images to social media
- Save the images to a Google Drive
- Email the images to yourself for review
And countless other options!
In order to use the images in a follow up zap step, you will find all images of a collection contained in the Zapier response in an object named image_urls

This object will contain one url per template in your set. The Bannerbear template ID is used to give unique but predictable names for the image urls. So you can build follow up zap steps that do different things with different images, based on knowing the template ID.


