
How to Turn Your Code into Branded Shareable Snippets with Highlight.js, Puppeteer, and Bannerbear
Contents
Have you come across those cool code snippets that developers love to share online? Not only do they make the code look cleaner and easier to read, but they also add a professional touch.
These eye-catching code snippets can make your technical content more engaging, and they’re pretty easy to create with the right tools. In this tutorial, we’ll show you how to create a similar code snippet, but with extra branded elements like an avatar/profile image, name, and handle to make it even more appealing. We'll be using Highlight.js, Puppeteer, Bannerbear, and AWS S3 to bring it all together.
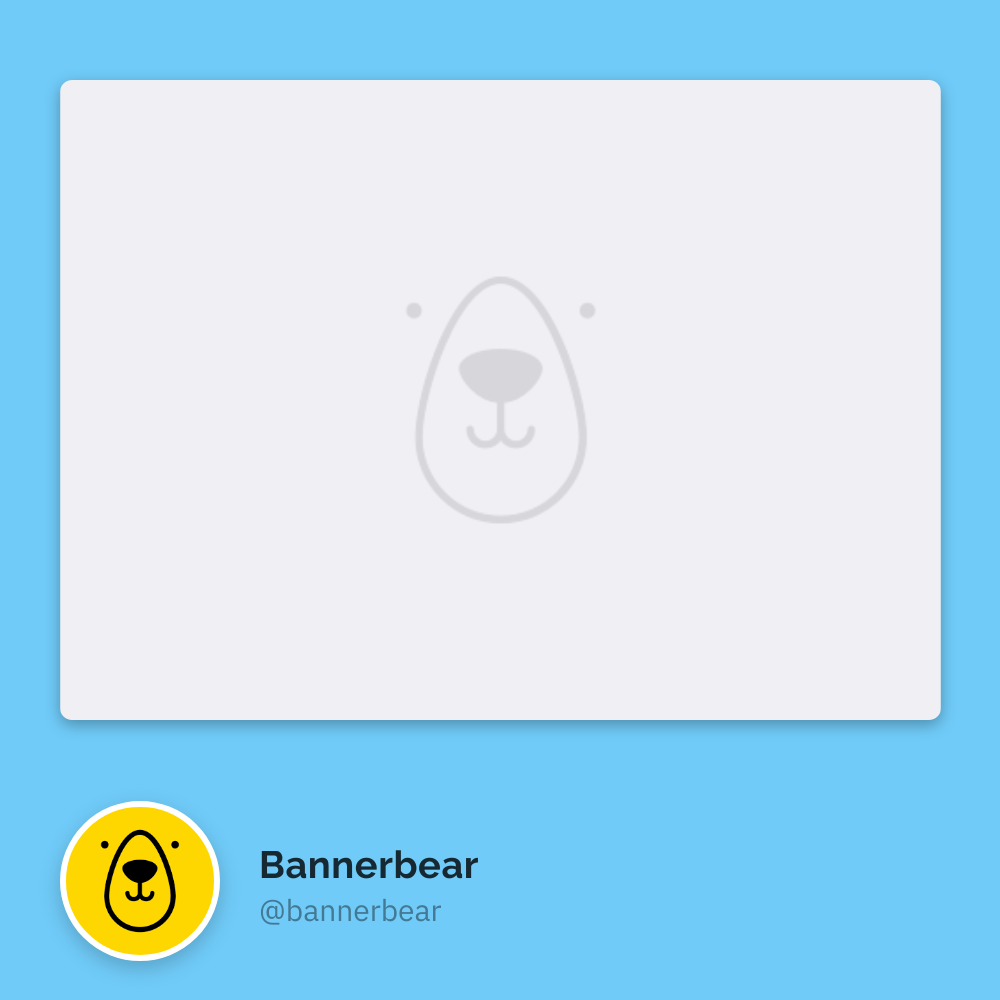
Whether you're writing a blog post, sharing code on social media, or adding it to your documentation, this tutorial will help you generate branded, beautiful shareable code snippets like the one below:

Pre-requisites
Before we get started, make sure you have the following tools set up:
- Node.js and npm installed on your machine
- A Bannerbear account (sign up and get 30 free API credits!)
- An AWS account
Once you've got everything ready, we’re good to go!
Creating a Bannerbear Design Template
Bannerbear offers APIs and libraries in various popular programming languages, including Node.js, Ruby, and PHP for automating and integrating dynamic image generation into different projects. But first, you need to create a design template, which will act as the structure for your branded code snippets.
In your Bannerbear dashboard, create a new project. Then, duplicate the template below to your project simply by clicking on it:
This template includes dynamic elements like image, handle, name, and avatar, which can be updated during an API call to Bannerbear when generating your branded code snippets:
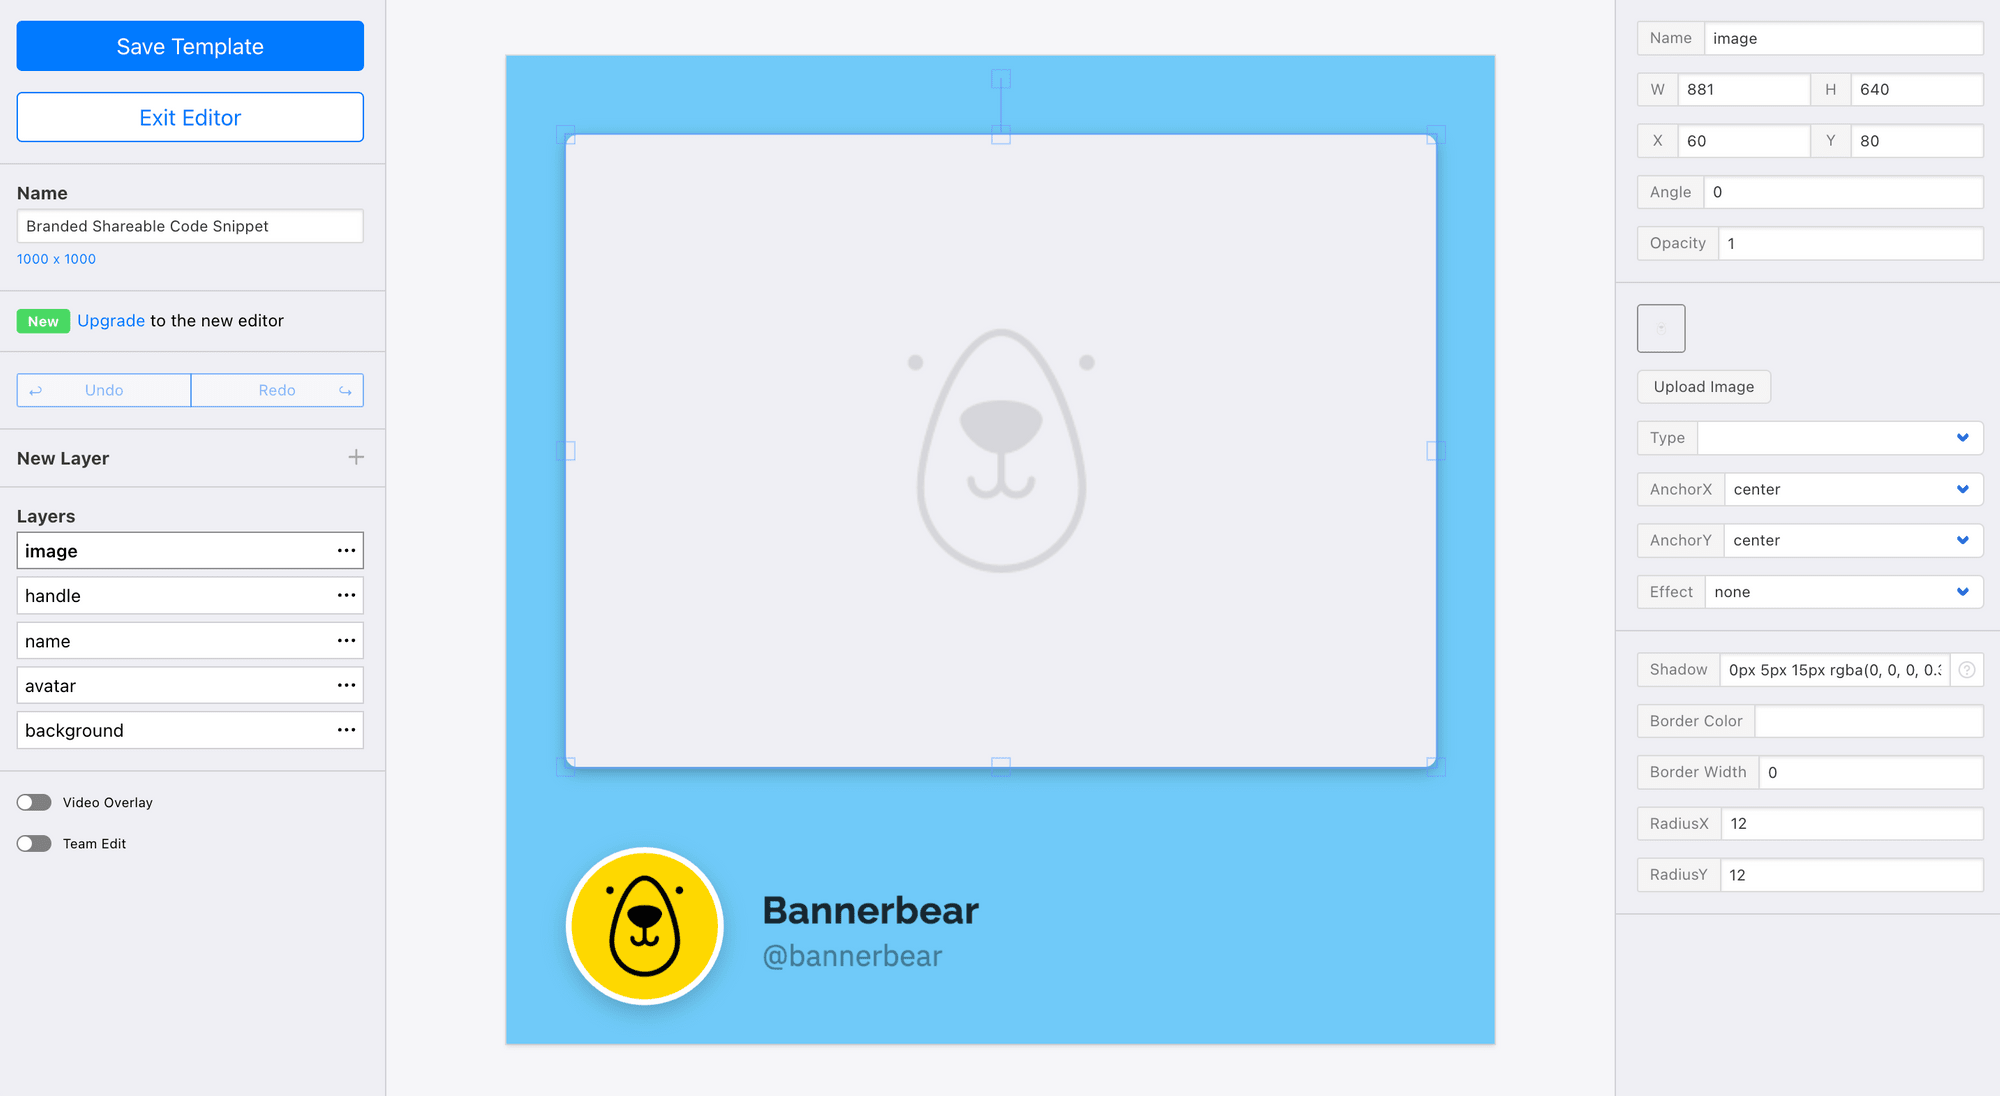
Feel free to make any changes to the template as needed. Once you're satisfied with it, save and close the editor.
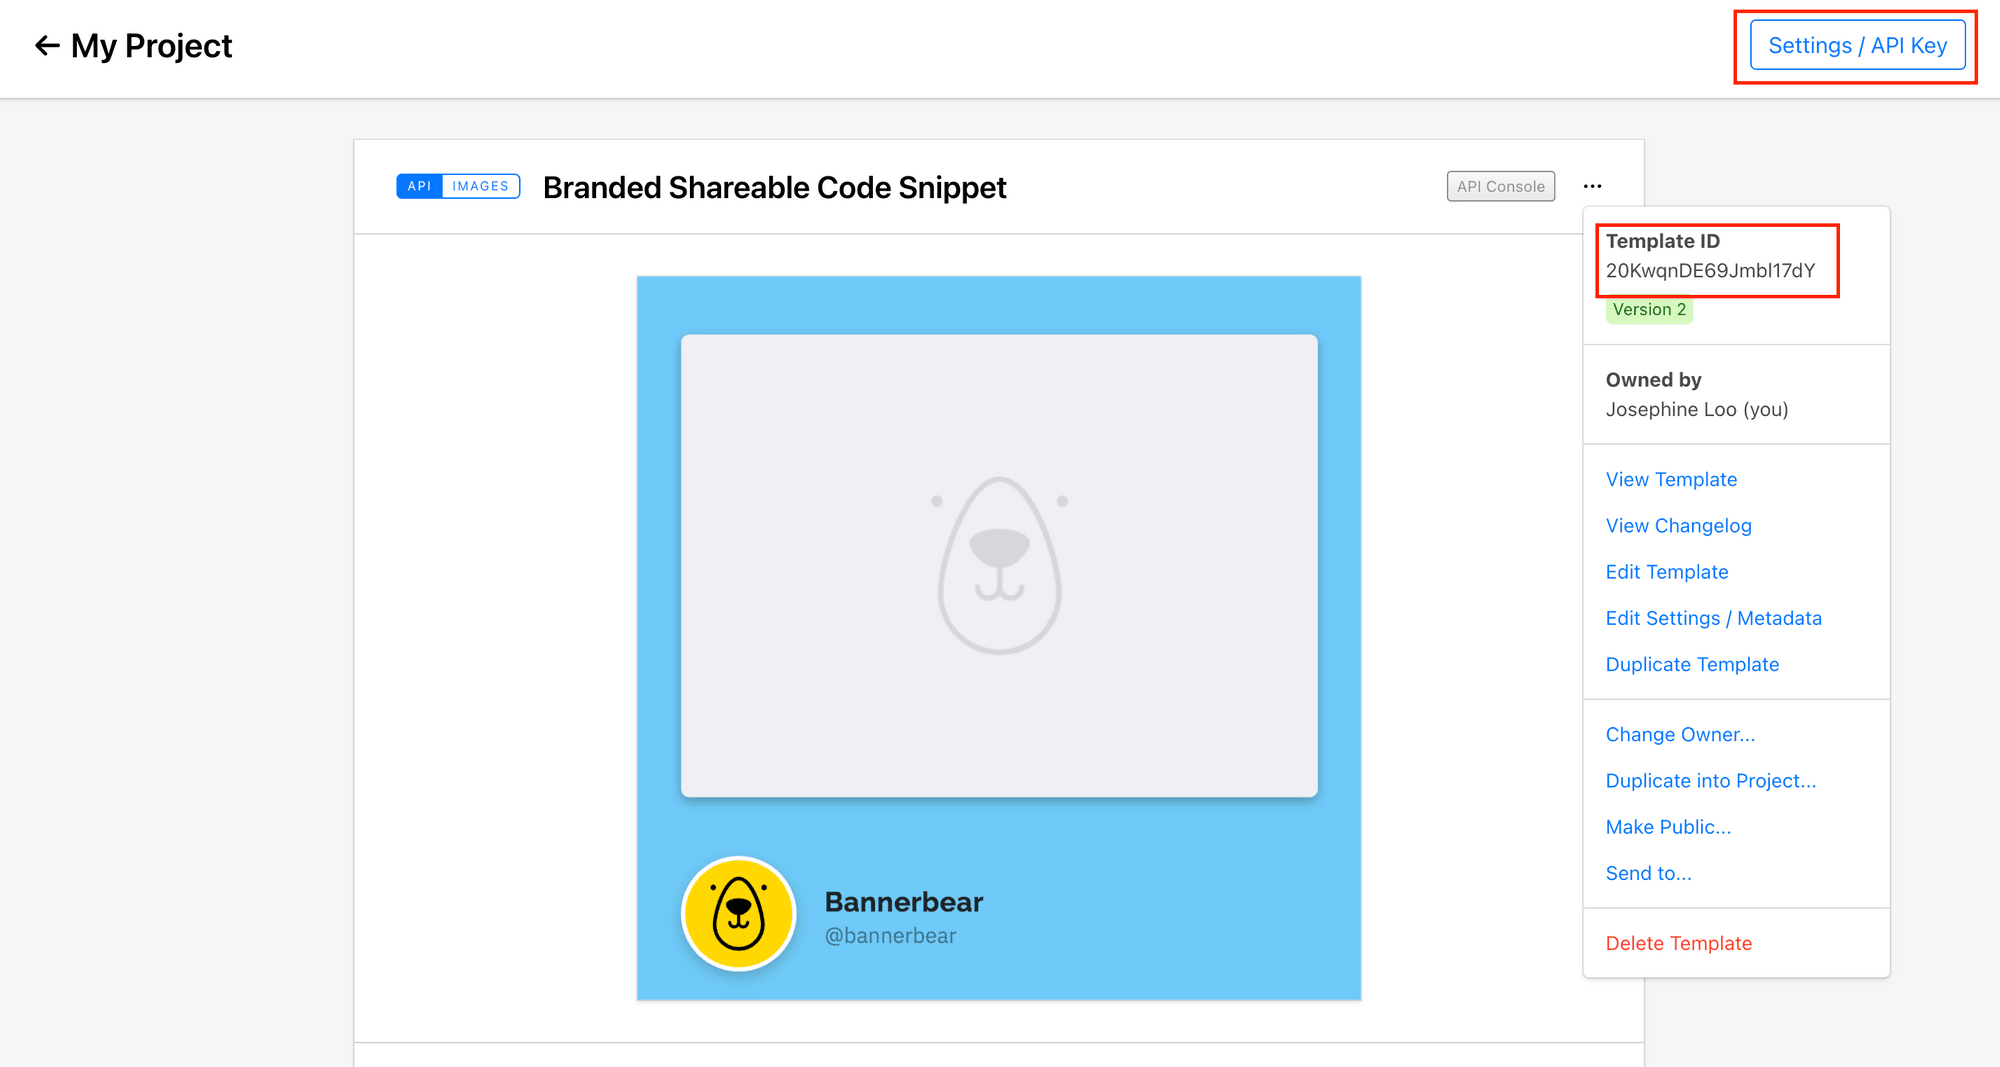
Next, get your project’s API key and template ID (shown below) and store them somewhere safe. You'll need these details later when accessing the project and template in your code:
Generating Branded Shareable Code Snippets with Bannerbear
Now that we’ve set up the design template, let’s write a script that:
- Highlights the code snippet and displays it in HTML format
- Captures a screenshot of the HTML page using Puppeteer
- Uploads the screenshot to AWS S3
- Uses Bannerbear to generate a branded image of the code snippet
- Deletes the screenshot from S3 once the process is complete
Step 1. Initialize a Node.js Project
Start by creating a new folder for your project and navigating to that directory in your terminal. Then, run the following command to initialize a new Node.js project:
npm init
Step 2. Install the Required Libraries
We'll use the following libraries in our project:
highlight.js– for syntax highlightingpuppeteer– for generating screenshots of the code snippetaws-sdk– for uploading the screenshots to AWS S3bannerbear– for generating branded images
Run the command below to install them:
npm install highlight.js puppeteer aws-sdk bannerbear
Step 3. Import Required Libraries
Create a file named index.js and import the necessary libraries at the top of the file:
const fs = require('fs');
const hljs = require('highlight.js');
const puppeteer = require('puppeteer');
const AWS = require('aws-sdk');
const { Bannerbear } = require('bannerbear');
Step 4. Configure AWS and Bannerbear
Set up AWS and Bannerbear with your credentials:
const s3 = new AWS.S3({
  accessKeyId: 'your-access-key-id',
  secretAccessKey: 'your-secret-access-key',
  region: 'your-region',
});
const bb = new Bannerbear('your-api-key');
🐻 Bear Tip: Refer to AWS’s documentation to learn more details about creating and managing the access keys.
Step 5. Define the Constants and Code Snippet
Let’s define the constants we’ll be using in our code, along with the code snippet we want to share. For this example, we’ll use the sample code from Bannerbear’s API reference as our snippet:
// Constants
const CODE_SNIPPET_HEIGHT = 640;
const CODE_SNIPPET_WIDTH = 881;
const CODE_SNIPPET_IMG_PATH = 'code-snippet.png';
const BUCKET_NAME = 'your-bucket-name';
const BB_TEMPLATE_ID = 'your-template-id';

// Code snippet
const code = `
var data = {
  "template" : "jJWBKNELpQPvbX5R93Gk",
  "modifications" : [
    {
      "name" : "layer1",
      "text" : "This is my text"
    },
    {
      "name" : "photo",
      "image_url" : "https://www.pathtomyphoto.com/1.jpg"
    }
  ]
}
fetch('https://api.bannerbear.com/v2/images', {
  method: 'POST',
  body: JSON.stringify(data),
  headers: {
    'Content-Type' : 'application/json',
    'Authorization' : `Bearer ${API_KEY}`
  }
});
Step 6. Generate HTML with Syntax Highlighting
We’ll use the highlight.js library to add syntax highlighting to the code snippet. To display the highlighted code in HTML format (so we can take a screenshot of it), we’ll need to create an HTML template for it. Create the function below to inject the highlighted code into the template:
function generateHtmlContent(highlightedCode) {
  return `
<!DOCTYPE html>
<html lang="en">
<head>
    <meta charset="UTF-8">
    <meta name="viewport" content="width=device-width, initial-scale=1.0">
    <title>Code Snippet</title>
    <link rel="stylesheet" href="https://cdnjs.cloudflare.com/ajax/libs/highlight.js/11.9.0/styles/github-dark.min.css">
    <style>
        body {
            margin: 0;
            display: flex;
            justify-content: center;
            align-items: center;
            height: 100vh;
            background-color: #f0f0f5;
        }
        .window {
            width: ${CODE_SNIPPET_WIDTH}px;
            height: ${CODE_SNIPPET_HEIGHT}px;
            background: #333;
            border-radius: 12px;
            box-shadow: 0 5px 15px rgba(0, 0, 0, 0.3);
            overflow: hidden;
            position: relative;
        }
        .title-bar {
            height: 32px;
            background: #0D1116;
            display: flex;
            align-items: center;
            padding: 10px 15px;
            font-weight: bold;
            font-family: Arial, sans-serif;
            color: #fff;
        }
        .title-bar .close, .title-bar .minimize, .title-bar .maximize {
            width: 12px;
            height: 12px;
            border-radius: 50%;
            background-color: #ff5f57;
            margin-left: 10px;
            cursor: pointer;
        }
        .title-bar .minimize {
            background-color: #ffbd2e;
        }
        .title-bar .maximize {
            background-color: #27c93f;
        }
        pre {
            margin: 0;
            padding: 20px;
            background-color: #0D1116;
            color: #dcdcdc;
            border-radius: 8px;
            height: calc(100% - 32px);
            overflow-y: auto;
        }
        code {
            font-size: 16px;
            line-height: 1.4;
        }
    </style>
</head>
<body>
    <div class="window">
        <div class="title-bar">
            <div class="close"></div>
            <div class="minimize"></div>
            <div class="maximize"></div>
        </div>
        <pre><code class="hljs language-javascript">${highlightedCode}</code></pre>
    </div>
</body>
</html>
`;
}
🐻 Bear Tip: You can change the syntax highlighting theme by modifying the URL in
<link rel="stylesheet">. Refer to Highlight.js's repo for the full list of available themes.
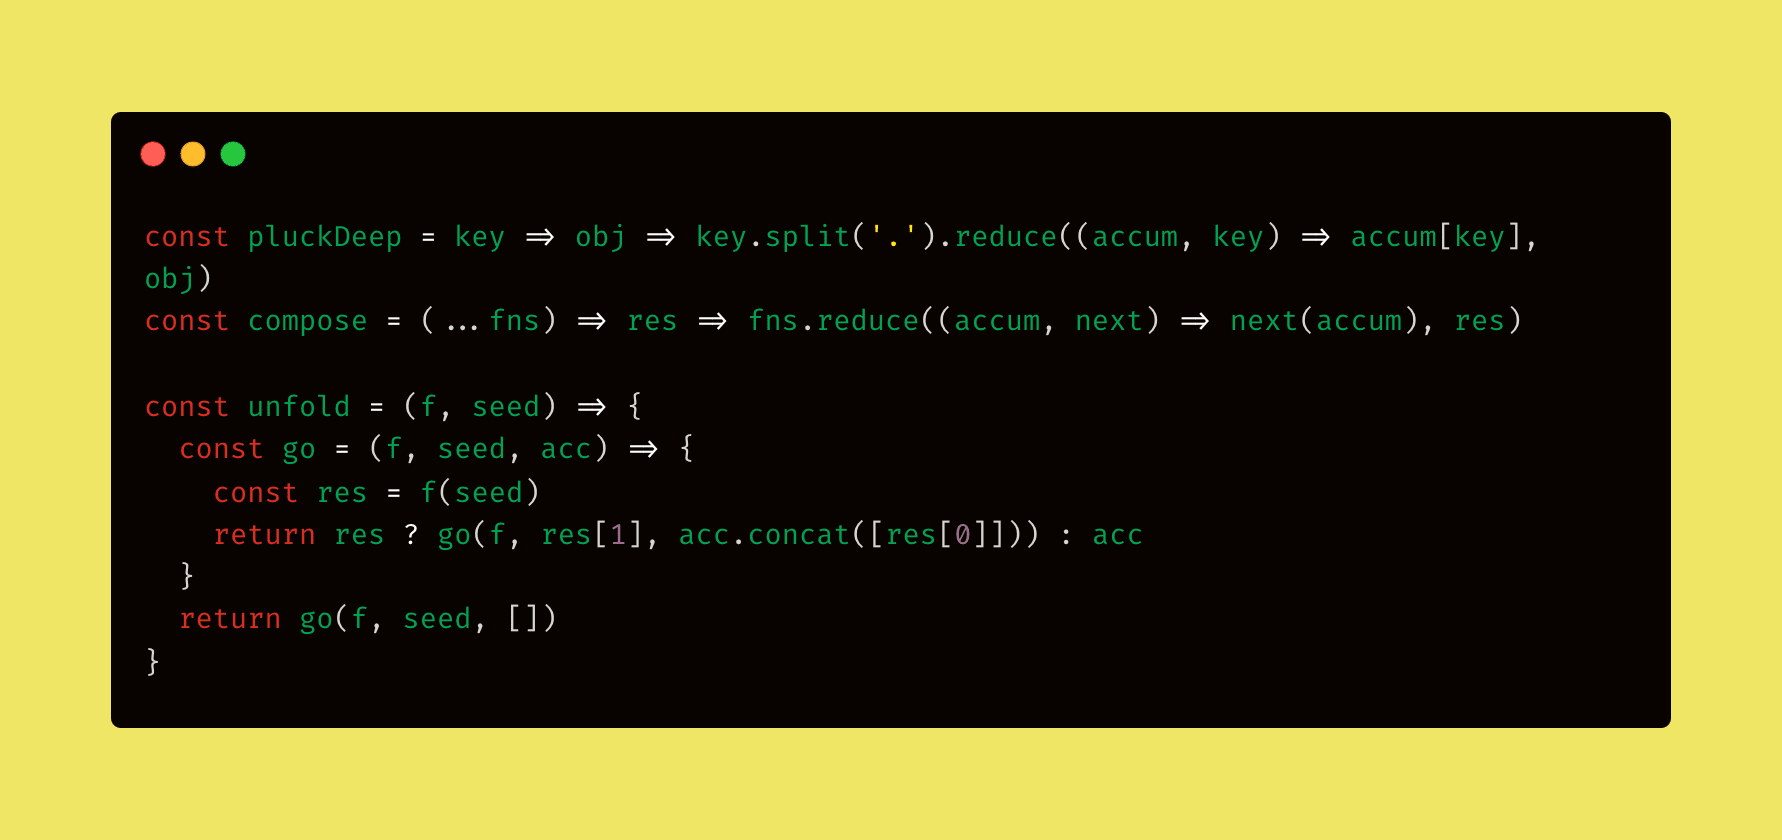
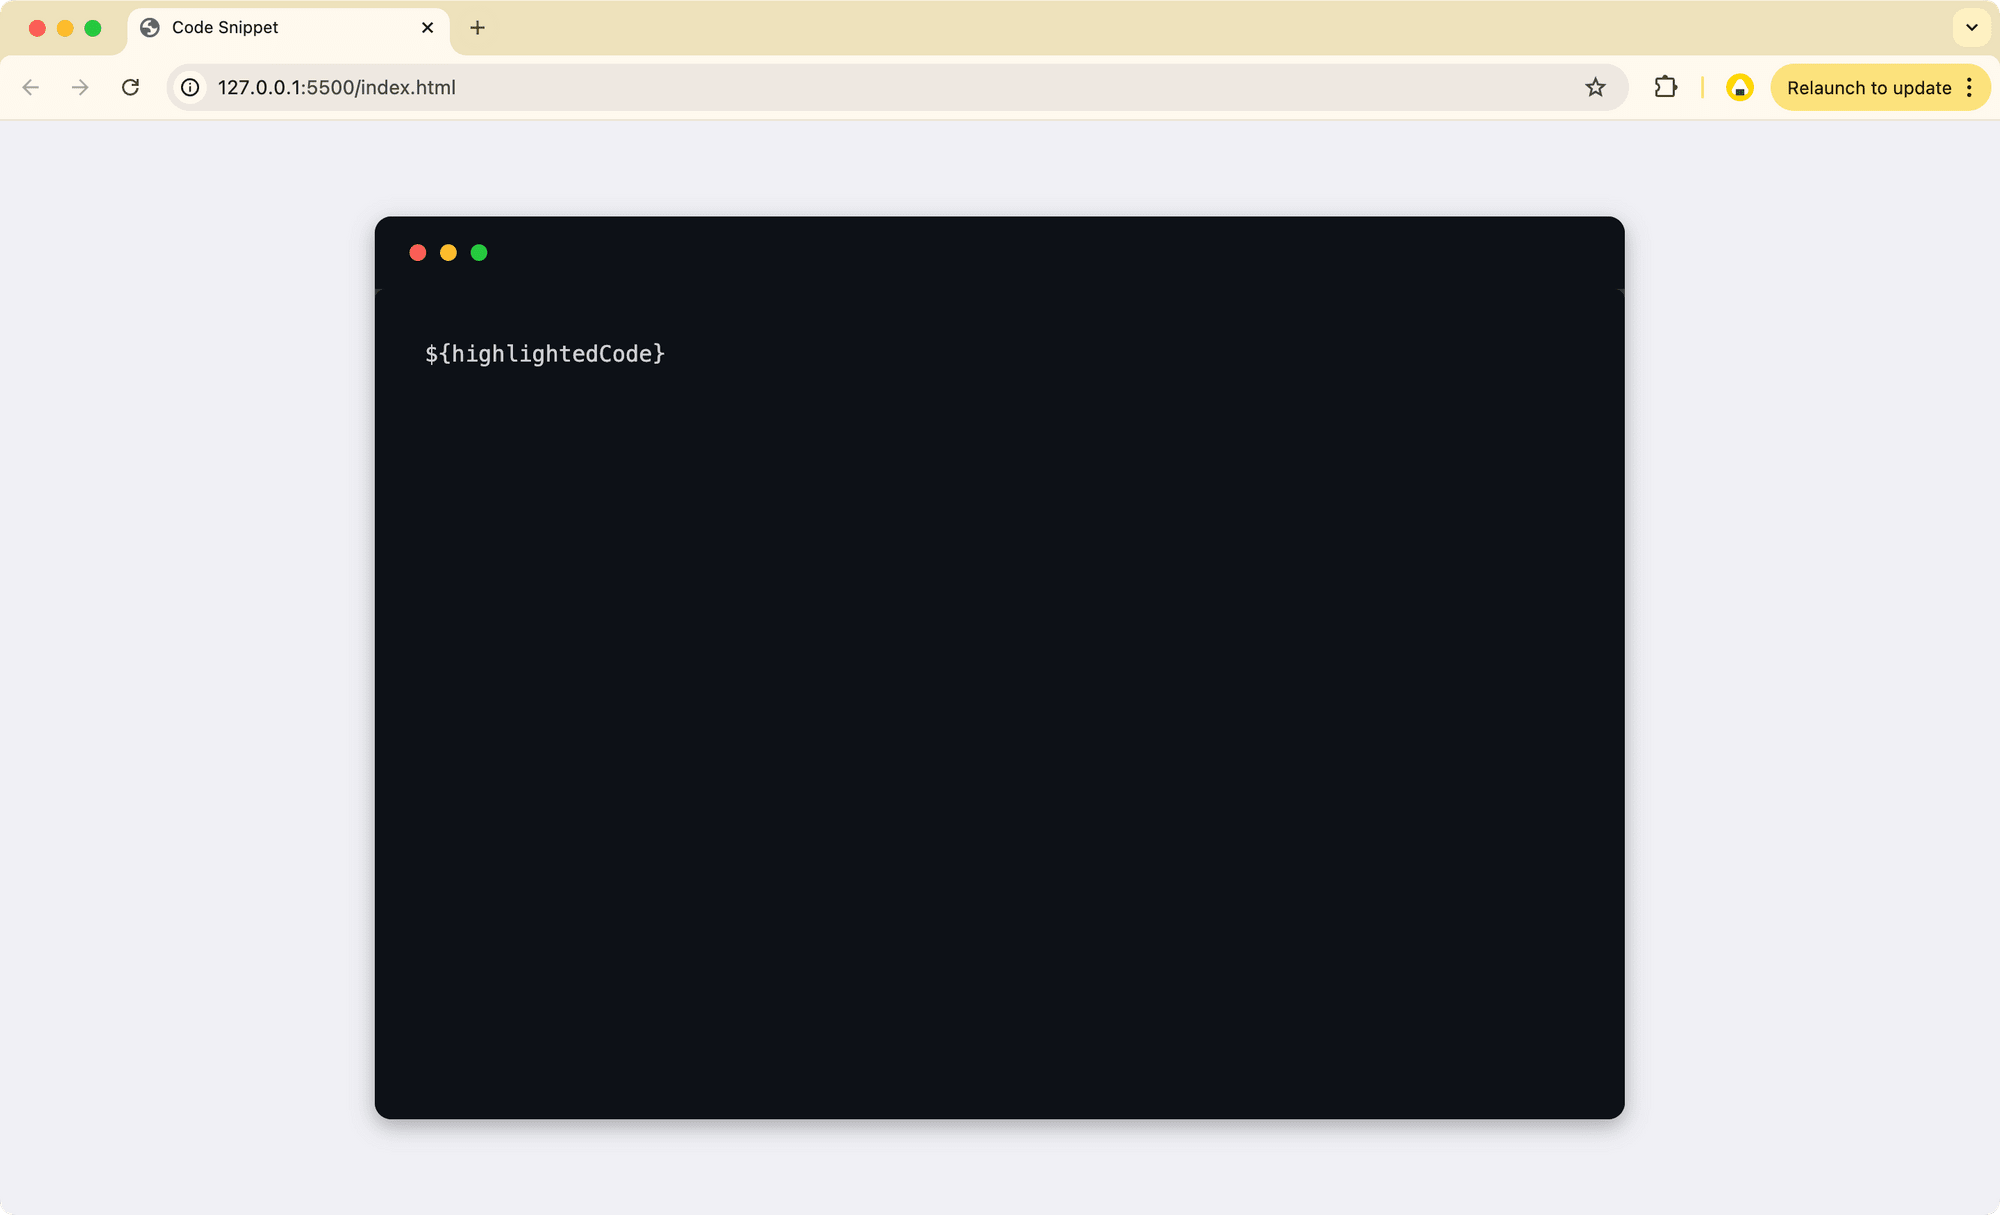
Here’s how the HTML will appear if you open it in a browser:
Step 7. Capture a Screenshot with Puppeteer
Using Puppeteer, we can render the HTML page in a headless browser and capture a screenshot of the code snippet:
async function screenshotCode(htmlContent) {
  const browser = await puppeteer.launch();
  const page = await browser.newPage();
  await page.setContent(htmlContent, { waitUntil: 'load' });
  await page.setViewport({ width: CODE_SNIPPET_WIDTH, height: CODE_SNIPPET_HEIGHT });
  await page.screenshot({ path: CODE_SNIPPET_IMG_PATH });
  await browser.close();
}
Step 8. Upload the Screenshot to AWS S3
Now that we have the screenshot, the next step is to upload it to your AWS S3 bucket using the AWS SDK. This function will upload the image to AWS S3 and provide the URL where the image can be accessed:
async function uploadFile(filePath, key) {
  const fileContent = fs.readFileSync(filePath);
  const params = {
    Bucket: BUCKET_NAME,
    Key: key,
    Body: fileContent,
    ContentType: 'image/png',
    ACL: 'public-read',
  };
  const uploadResult = await s3.upload(params).promise();
  console.log('File uploaded successfully:', uploadResult.Location);
  return uploadResult.Location;
}
Step 9. Generate Image with Bannerbear
Once the image is uploaded to S3, we can now use the Bannerbear API to generate a branded, shareable code snippet. This API call will take the screenshot of the code snippet (from S3) and insert it into the design template we created earlier:
async function generateImage(url) {
  const images = await bb.create_image(
    BB_TEMPLATE_ID,
    {
      modifications: [{ name: 'image', image_url: url }],
    },
    true
  );
  console.log('Image uploaded successfully:', images.image_url);
}
🐻 Bear Tip: The dynamic objects that aren’t included in the
modificationsarray (e.g., handle, name, and avatar) will stay unchanged.
Step 10. Delete the Screenshot from S3
After generating the branded shareable code snippet, you can clean up any temporary files like the code snippet screenshot to free up space:
async function deleteFile(bucketName, key) {
  const params = {
    Bucket: bucketName, // Your S3 bucket name
    Key: key, // File path in S3
  };

  await s3.deleteObject(params).promise();
  console.log('File deleted successfully');
}
Step 11. Run the Full Script
Now that we have all the components in place, let’s combine all the steps in the process, from highlighting the code to generating the final branded shareable image, into a self-invoking function:
(async () => {
  const highlightedCode = hljs.highlightAuto(code).value;
  const htmlContent = generateHtmlContent(highlightedCode);
  await screenshotCode(htmlContent);

  const key = Date.now() + '-' + CODE_SNIPPET_IMG_PATH;
  const uploadedUrl = await uploadFile(CODE_SNIPPET_IMG_PATH, key);

  await generateImage(uploadedUrl);
  await deleteFile(BUCKET_NAME, key);
})();
Run the script with the command below:
node index.js
The URL of the final image will be printed in the console, and voila! You’ve successfully created a branded, eye-catching code snippet that you can share on the internet. Feel free to tweak the design, code snippet, or template to match your preferences.

🐻 Bear Tip: View the full code on GitHub.
Why Branding Matters for Shareable Code Snippets
Shareable code snippets are more than just blocks of code displayed on an image, they can be a great tool for building your personal or business identity. Whether they’re used in tutorials, blog posts, documentation, or social media, they make it easier for others to read, understand, and reuse your code.
And, why does branding matter?
- Builds recognition : When your snippets are consistently branded, they become instantly recognizable, helping to build trust and familiarity with your audience.
- Professionalism and trust : A branded snippet signals to your audience that you care about the quality of your work, which can enhance your credibility and authority in your field.
- Increased exposure : When your code snippets are branded and shared, they help expand your reach across social media, blogs, and other platforms.
- Consistent visual identity : Branded snippets help establish a consistent visual identity throughout your content, strengthening your brand's presence in the minds of your audience.
At the end of the day, branding isn’t just about aesthetics—it’s about building a strong, memorable presence that truly connects with your audience. If you want an easy way to create polished, branded code snippets (or other marketing materials) without spending too much time, Bannerbear is a great choice. It automates image generation from design templates—set it up once, and you can keep generating images automatically whenever you need them.
Try it out and see how it fits into your workflow!
