
How to Generate and Save PDFs On-demand in Airtable
Contents
Not every generation use case calls for creating dozens of files in one go. Sometimes, it’s better to generate as you go, allowing yourself access to the created file without having to prepare an entire batch of input data beforehand.
But this doesn’t mean you can’t use automation. Setting up a process that allows you to generate and store PDFs on-demand saves time and uses resources efficiently. And with Airtable’s Scripting extension, you can set up a custom button that generates and saves PDFs for easy access whenever you need.
In this tutorial, we’ll go over how you can add the Scripting extension to your Airtable base and customize a script that generates, then uploads your PDF as an attachment.
Why Generate PDFs On-Demand?
PDFs are versatile file formats that maintain document layout and visual quality across different platforms. Despite larger file sizes compared to JPG or PNG, PDFs excel at preserving intricate details and supporting various media types, making them ideal for sharing documents and prints.
While batch PDF generation can be effective, on-demand PDF creation offers several advantages in scenarios where:
- Active data management is required
- Storage resources are limited
- Data is sporadically changing
- Strict version control is necessary
On-demand generation allows you to create PDFs efficiently, conserve resources, and maintain greater control over document production with a simple, targeted approach.
What You Will Create
Generating PDFs on-demand means only creating one file at a time, but you can still make your workflow more efficient by automating the API call and storing it as an attachment in your Airtable record.
The tools you will need are:
- Airtable : To store information and attached files
- Bannerbear : To generate images and PDFs
Bear Tip 🐻: You will need a paid Airtable plan to access Extensions.
By the end of the tutorial, you should have an Airtable base with buttons that allow for easy PDF generation and storage.
Let’s get started!
How to Set Up a Button to Generate PDFs in Airtable
Integrating Bannerbear’s capabilities into your Airtable base streamlines your workflow, making it so you don’t have to leave the app to create and store documents.
We’ll use the Scripting extension to add this functionality to your base, then connect it to a button that runs the script when clicked.
Here’s how to set it all up:
Step 1. Prepare Your Airtable Base
Let’s assume you have an Airtable base populated with some data that you’ll include in your generated PDFs. This could be text, links, or even emojis!
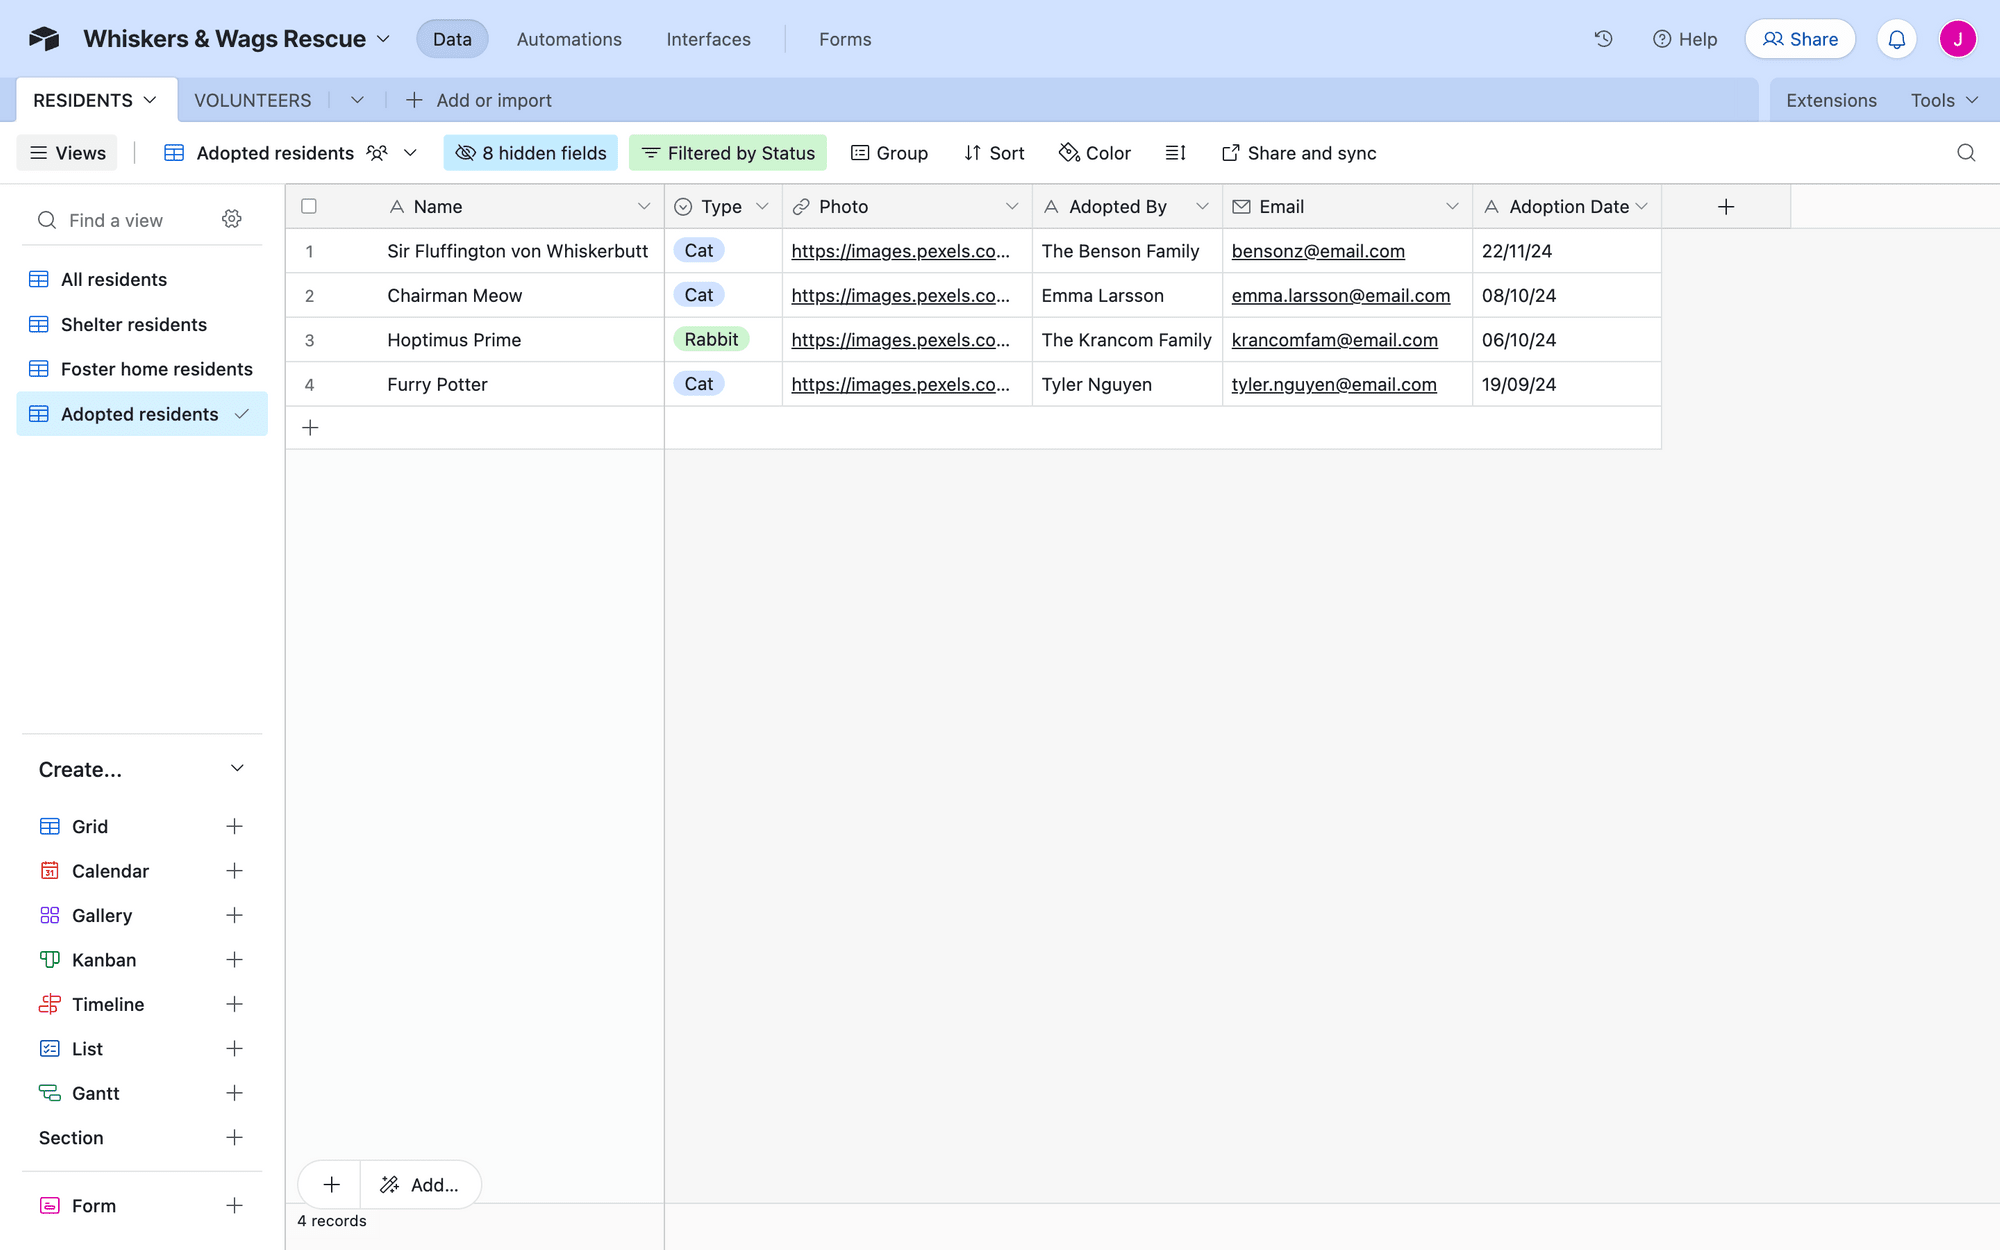
Add an attachment type field to your table to store created PDFs.
You can add as many fields as PDFs you plan to create for each record.
Step 2. Add a Scripting Extension
Extensions extend the functionality of your Airtable base. Scripting, in particular, allows you to write custom JavaScript code that take your base beyond standard features, performing tasks like advanced data manipulation and custom report generation.
To manage extensions, click the Extensions tab on the right side of your table. This will open up a dashboard where you can manage these additional functionalities.
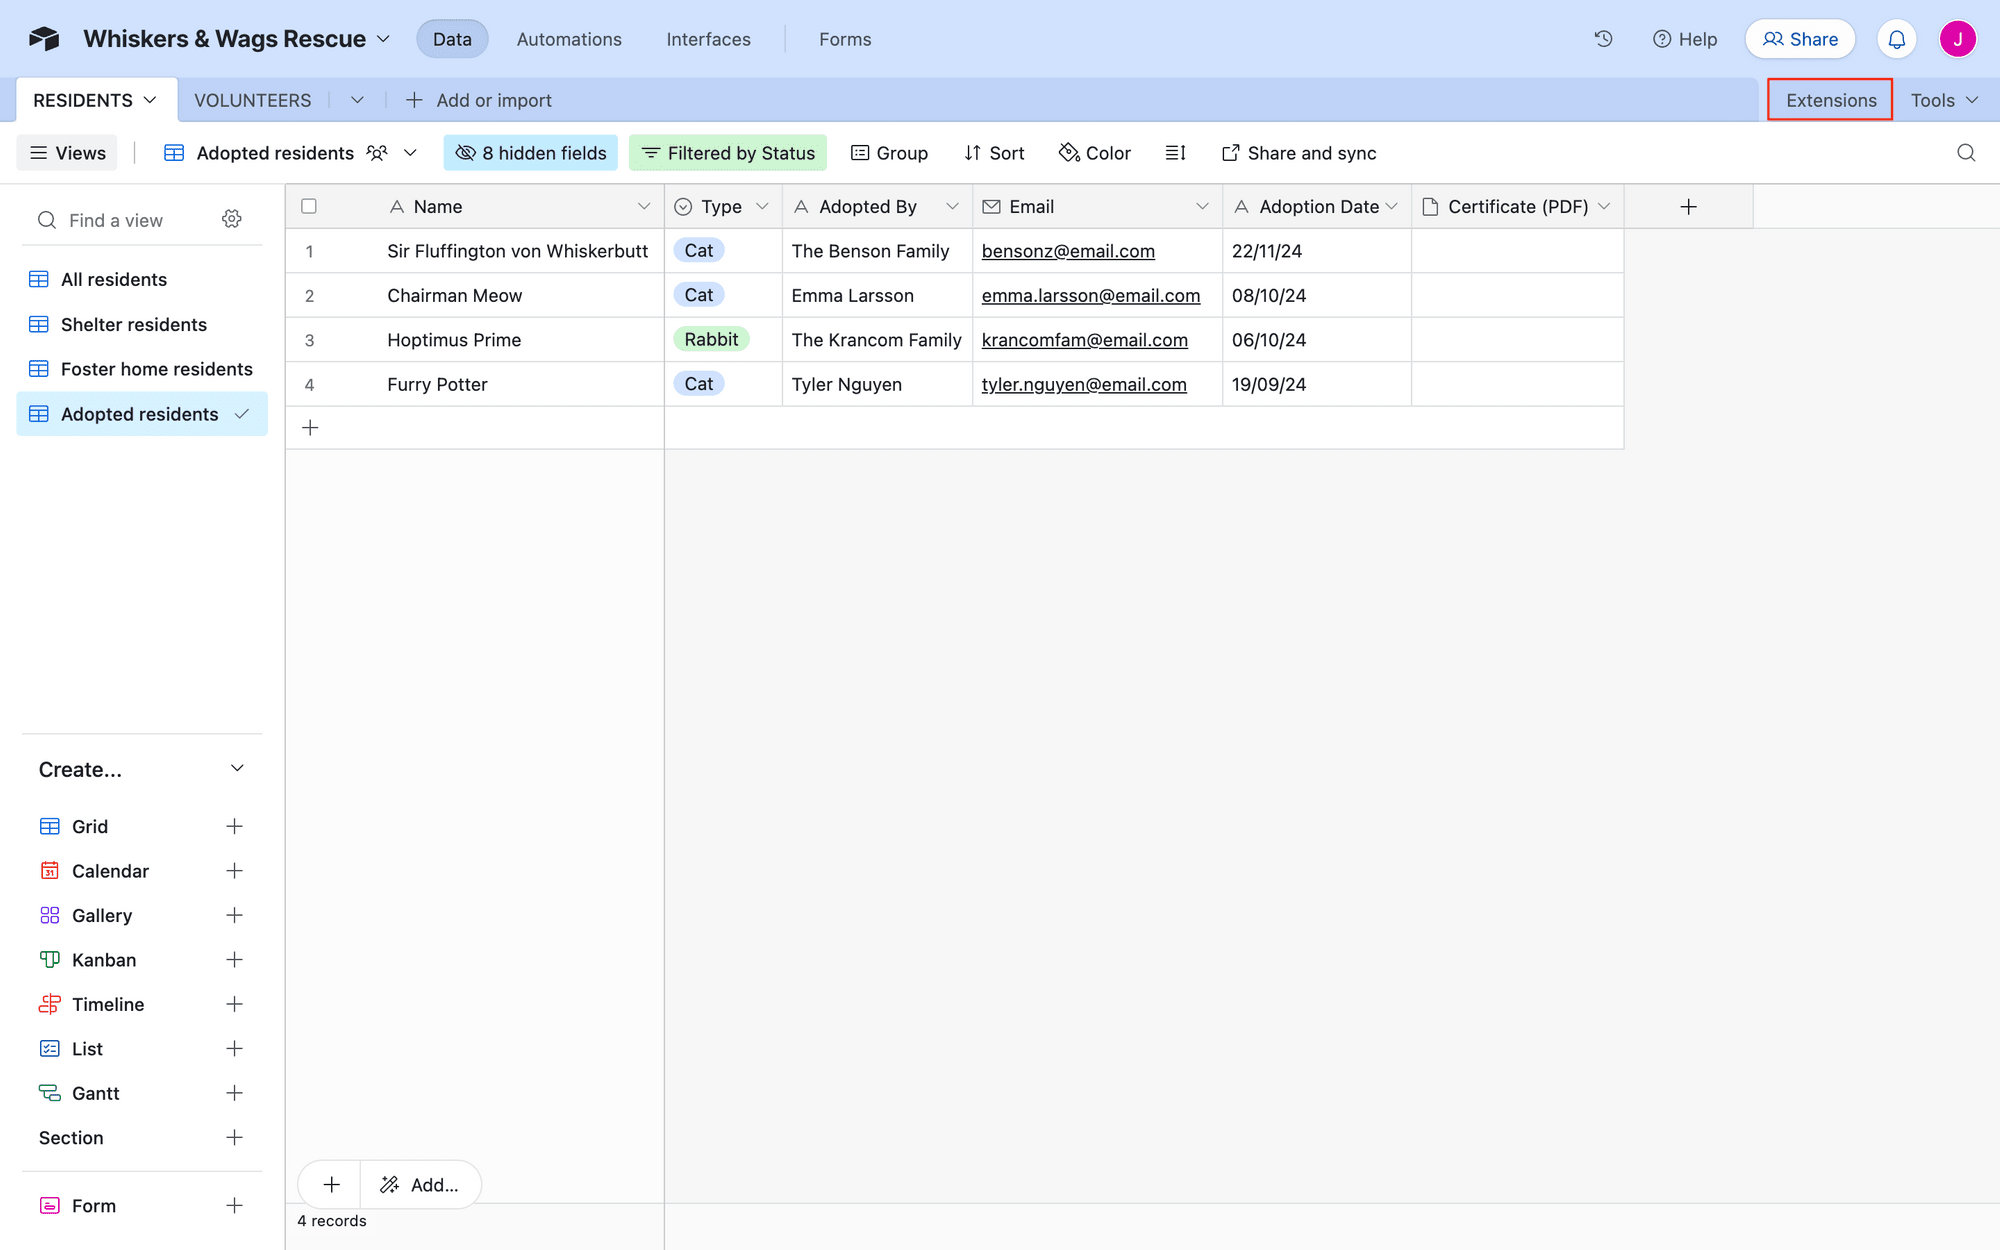
Click Add an extension.
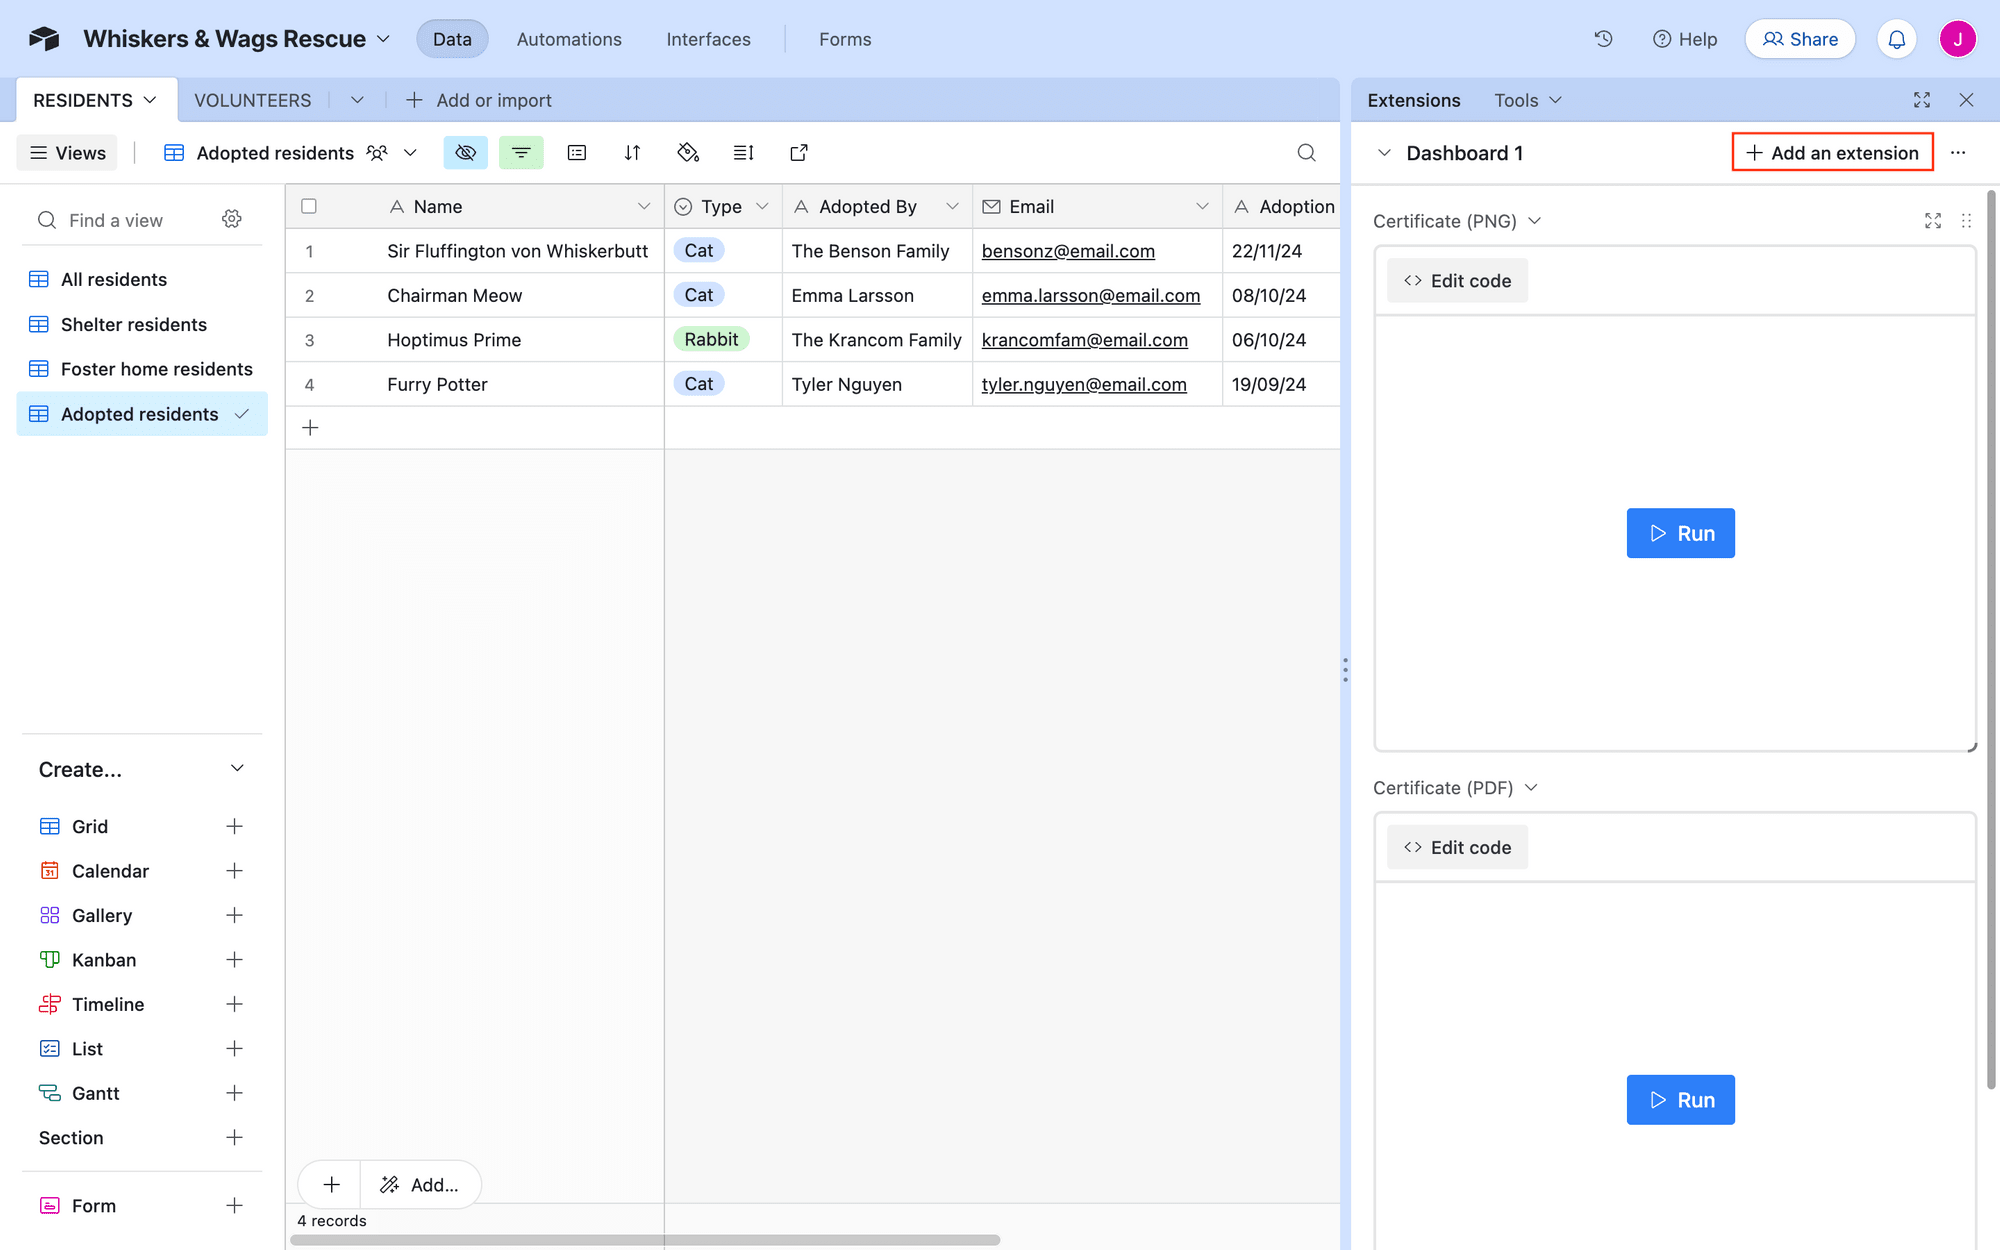
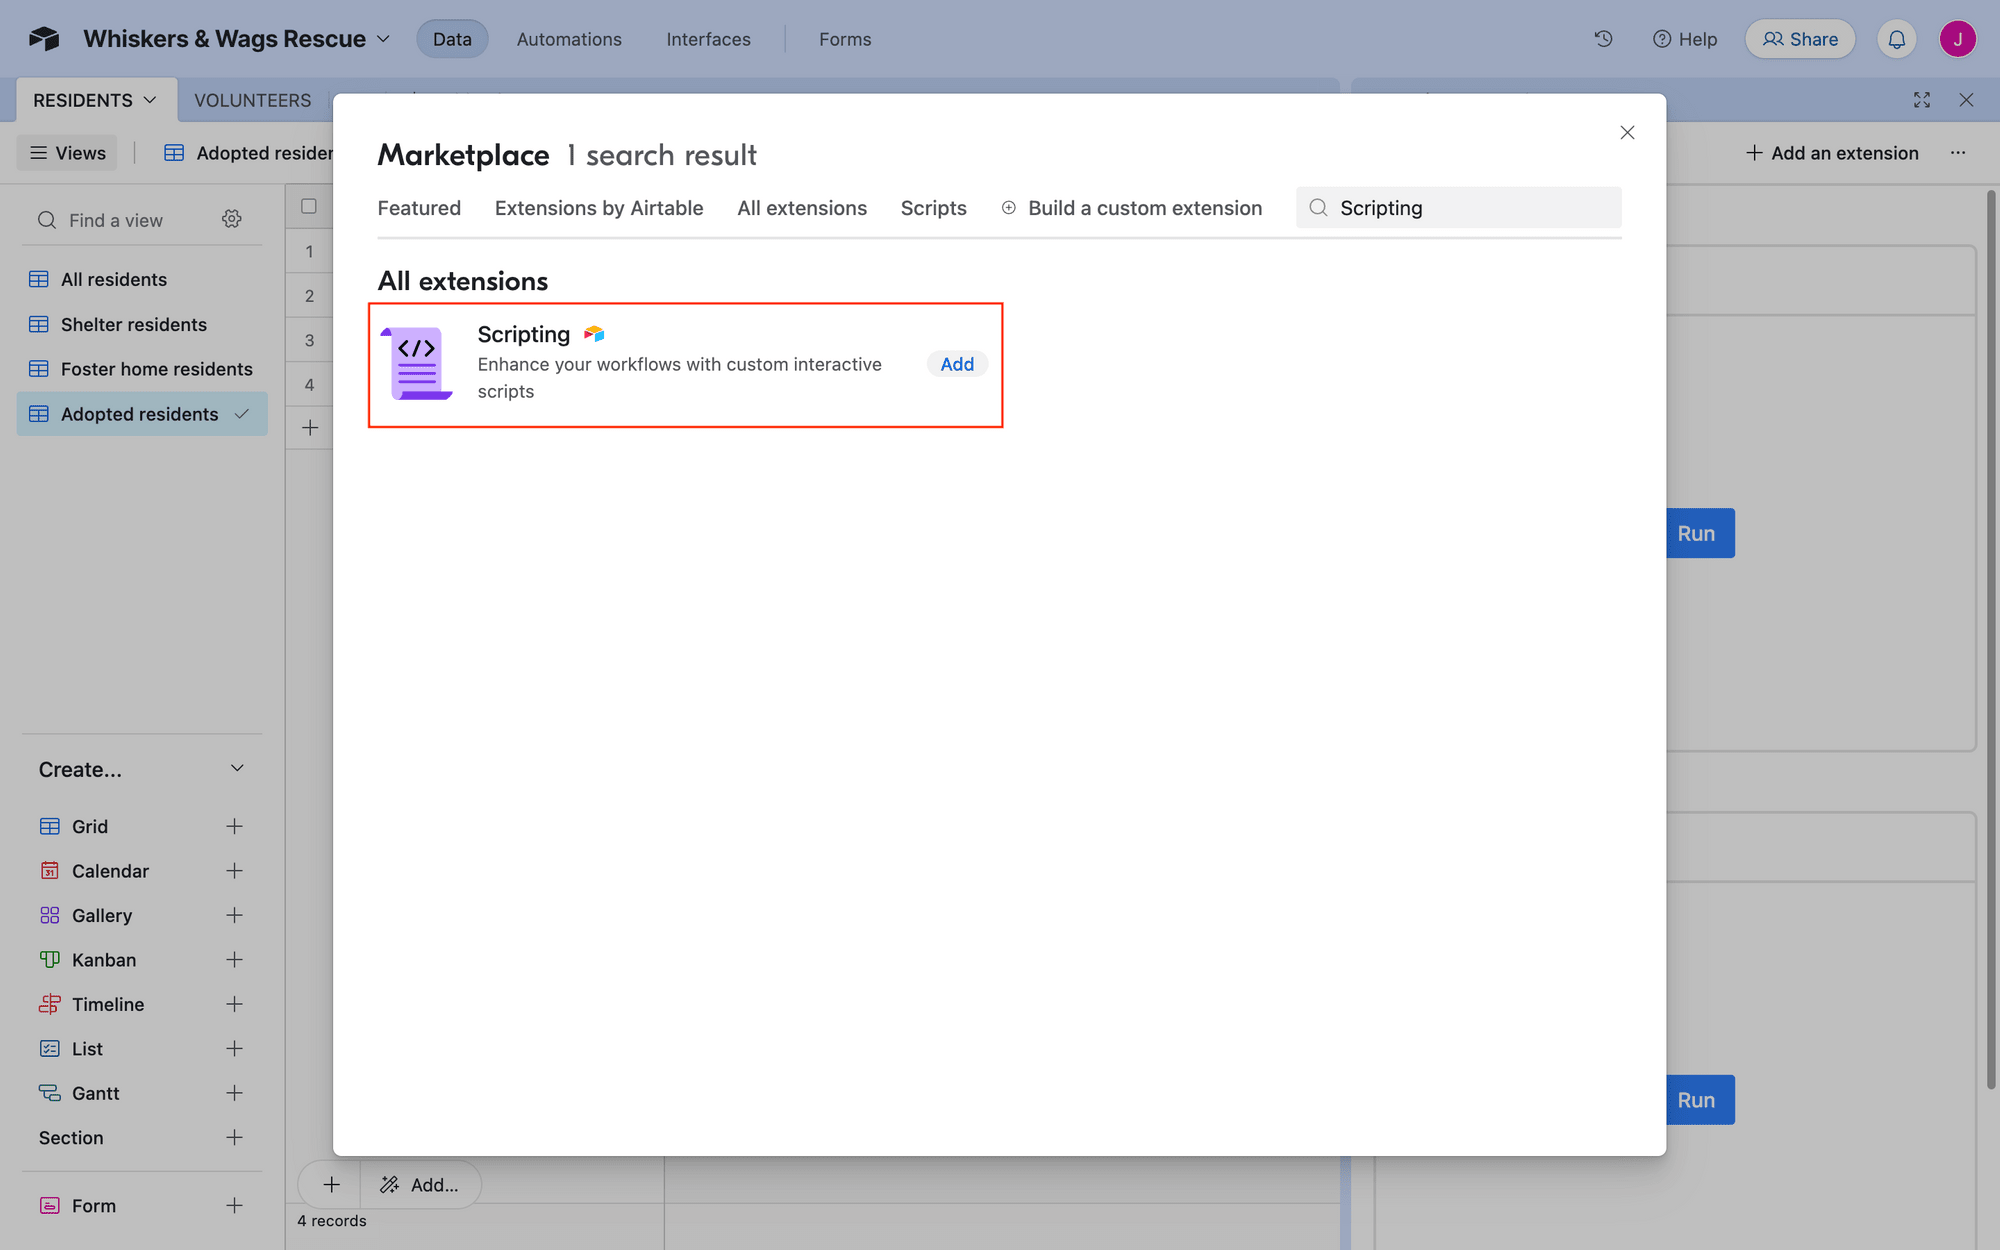
Search for the Scripting extension, then click Add.
You should now be on a page where you can edit and test scripts in your base.
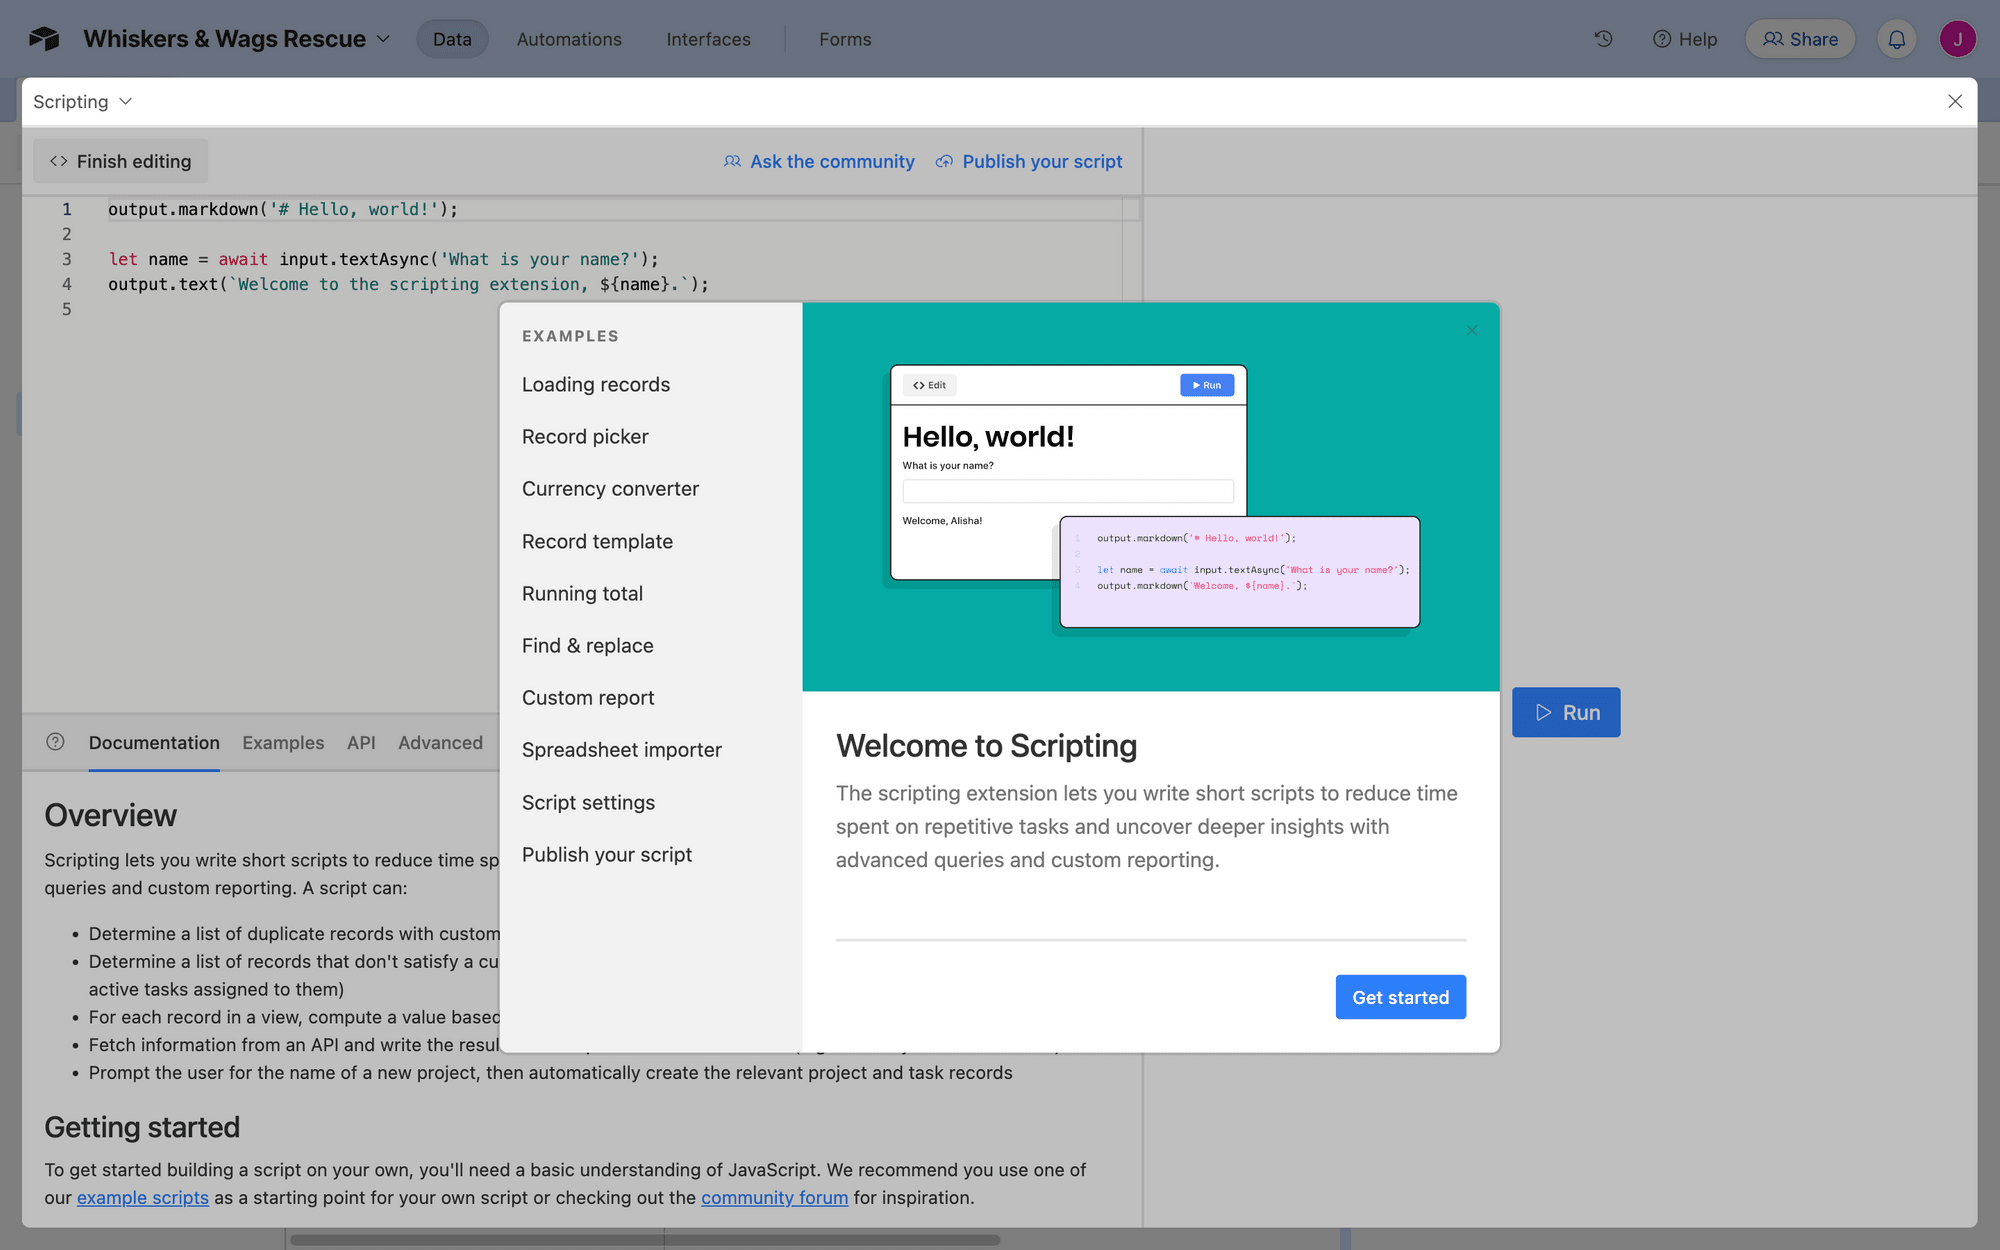
Click Get started , then start from scratch to start editing.
Step 3. Customize Your Code
The script you use will send an image generation request to Bannerbear with your required modifications, then fetch the results and update the corresponding attachment field with the PDF.
Insert the following code into the editor:
const API_KEY = '{YOUR_API_KEY}'
let table = base.getTable("{YOUR_TABLE_NAME}")
let record = await input.recordAsync('Pick a record', table)

var data = {
  "template": '{YOUR_TEMPLATE_UID}',
  "render_pdf": true,
  "modifications": [
    {
      "name": "image_container",
      "image_url": record.getCellValue('Photo')
    },
    {
      "name": "title",
      "text": "Certificate of Adoption",
      "color": null,
      "background": null
    },
    {
      "name": "pretitle",
      "text": "This hereby certifies that",
      "color": null,
      "background": null
    },
    {
      "name": "adoptee_name",
      "text": record.getCellValue('Name'),
      "color": null,
      "background": null
    },
    {
      "name": "paragraph",
      "text": "has been adopted by *" + record.getCellValue('Adopted By') + "* into a lifetime of happiness and cuddles.",
      "color": null,
      "background": null
    },
    {
      "name": "date_title",
      "text": "Adoption Date",
      "color": null,
      "background": null
    },
    {
      "name": "date",
      "text": record.getCellValue('Adoption Date'),
      "color": null,
      "background": null
    },
    {
      "name": "logo_text",
      "text": "Whiskers & Wags",
      "color": null,
      "background": null
    }
  ],
}

let response = await fetch('https://sync.api.bannerbear.com/v2/images', {
  method: 'POST',
  body: JSON.stringify(data),
  headers: {
    'Content-Type' : 'application/json',
    'Authorization' : `Bearer ${API_KEY}`
  }
})

let respJSON = await response.json()

console.log (respJSON)

await table.updateRecordAsync(record.id, {
  "{YOUR_OUTPUT_FIELD}": [{url:respJSON.pdf_url}],
});
You’ll need to customize the following:
- YOUR_API_KEY - Found on the project’s Settings / API Key page
- YOUR_TABLE_NAME - According to your Airtable project
- YOUR_TEMPLATE_UID - Found by clicking the meatball menu on your template page
- YOUR_OUTPUT_FIELD - According to your Airtable project
The modifications section will also have to be changed according to your template. The easiest way to do this is to go to your template page, scroll down to the API Console , then copy and paste the entire modifications section into your script.
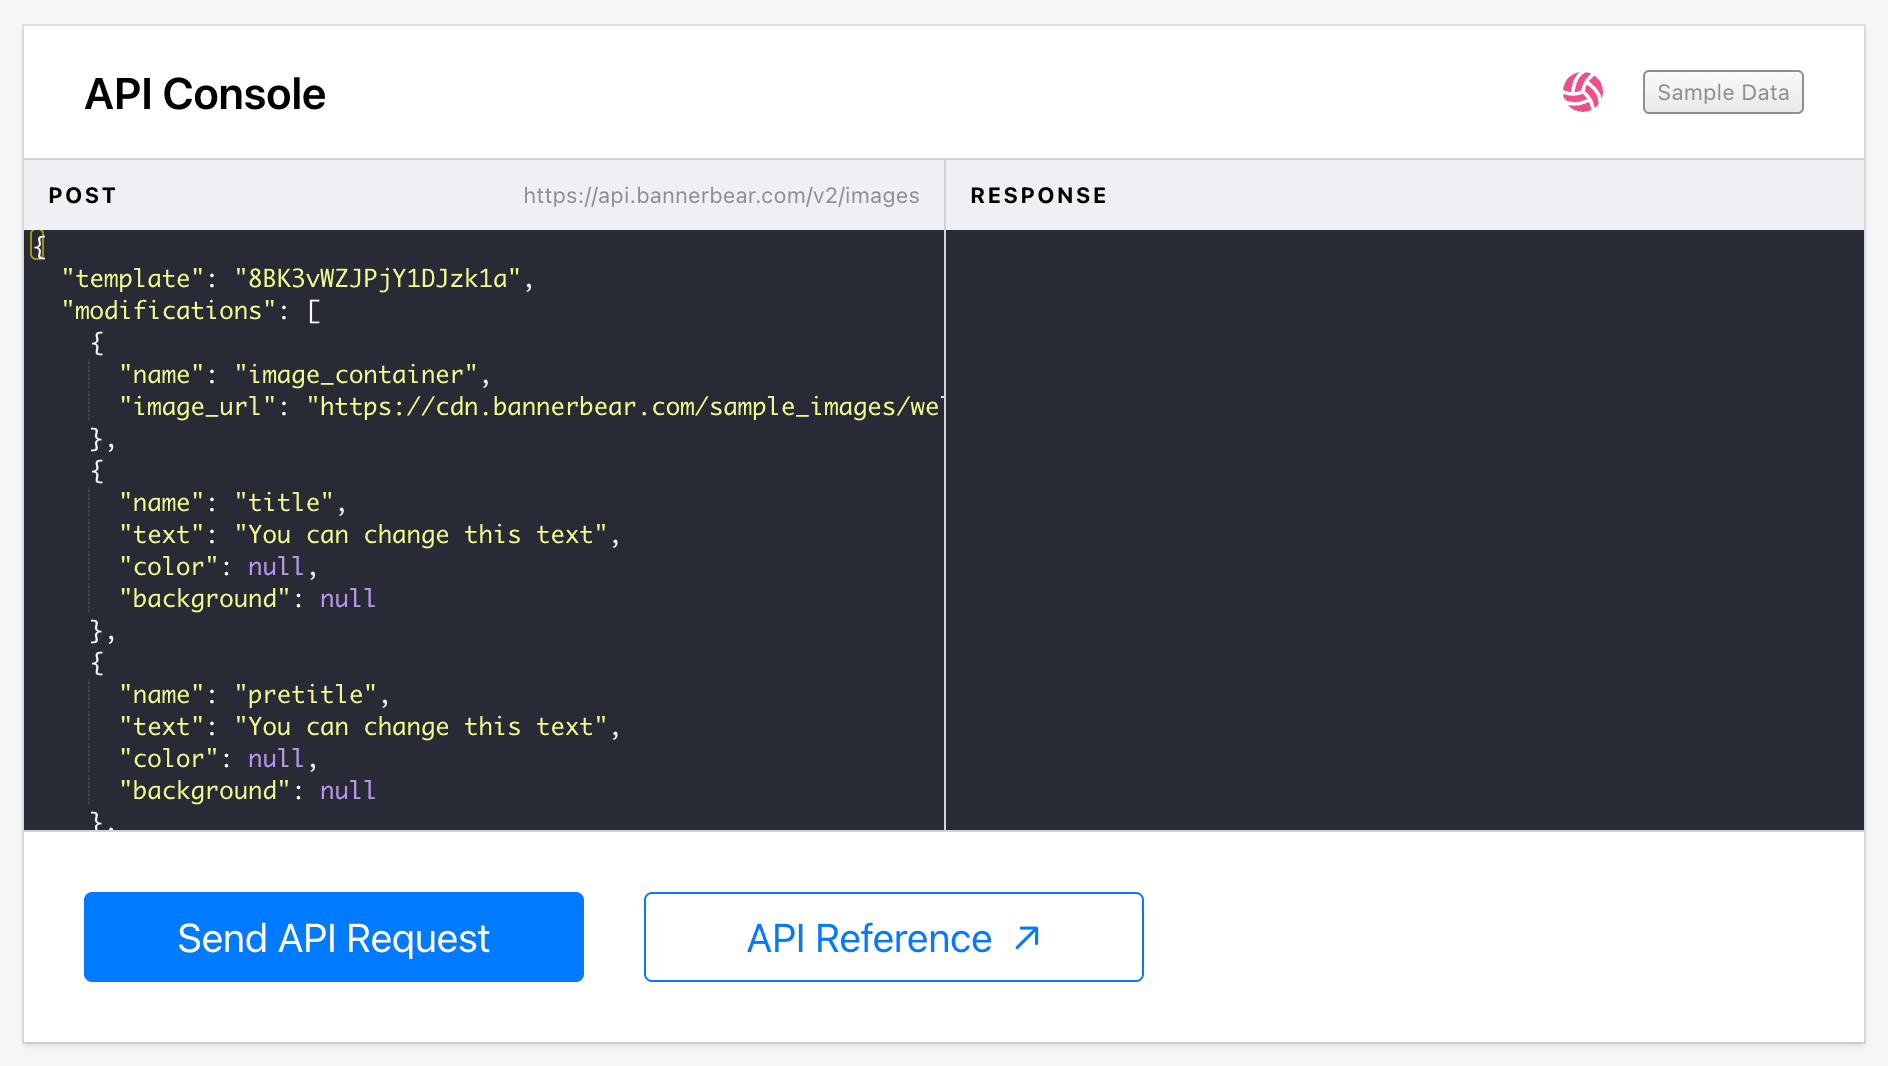
You can then customize the layers with replacement text, background colors, links, fonts, and more.
For more help modifying your request, refer to Bannerbear’s API reference.
Bear Tip 🐻: Use
record.getCellValue('{FIELD_NAME}')to refer different fields and dynamically update them per record.
Step 4. Create a Button
Now that your script is ready, all you have to do is set up a button that launches it when clicked. Return to your Airtable base, and add a button field.
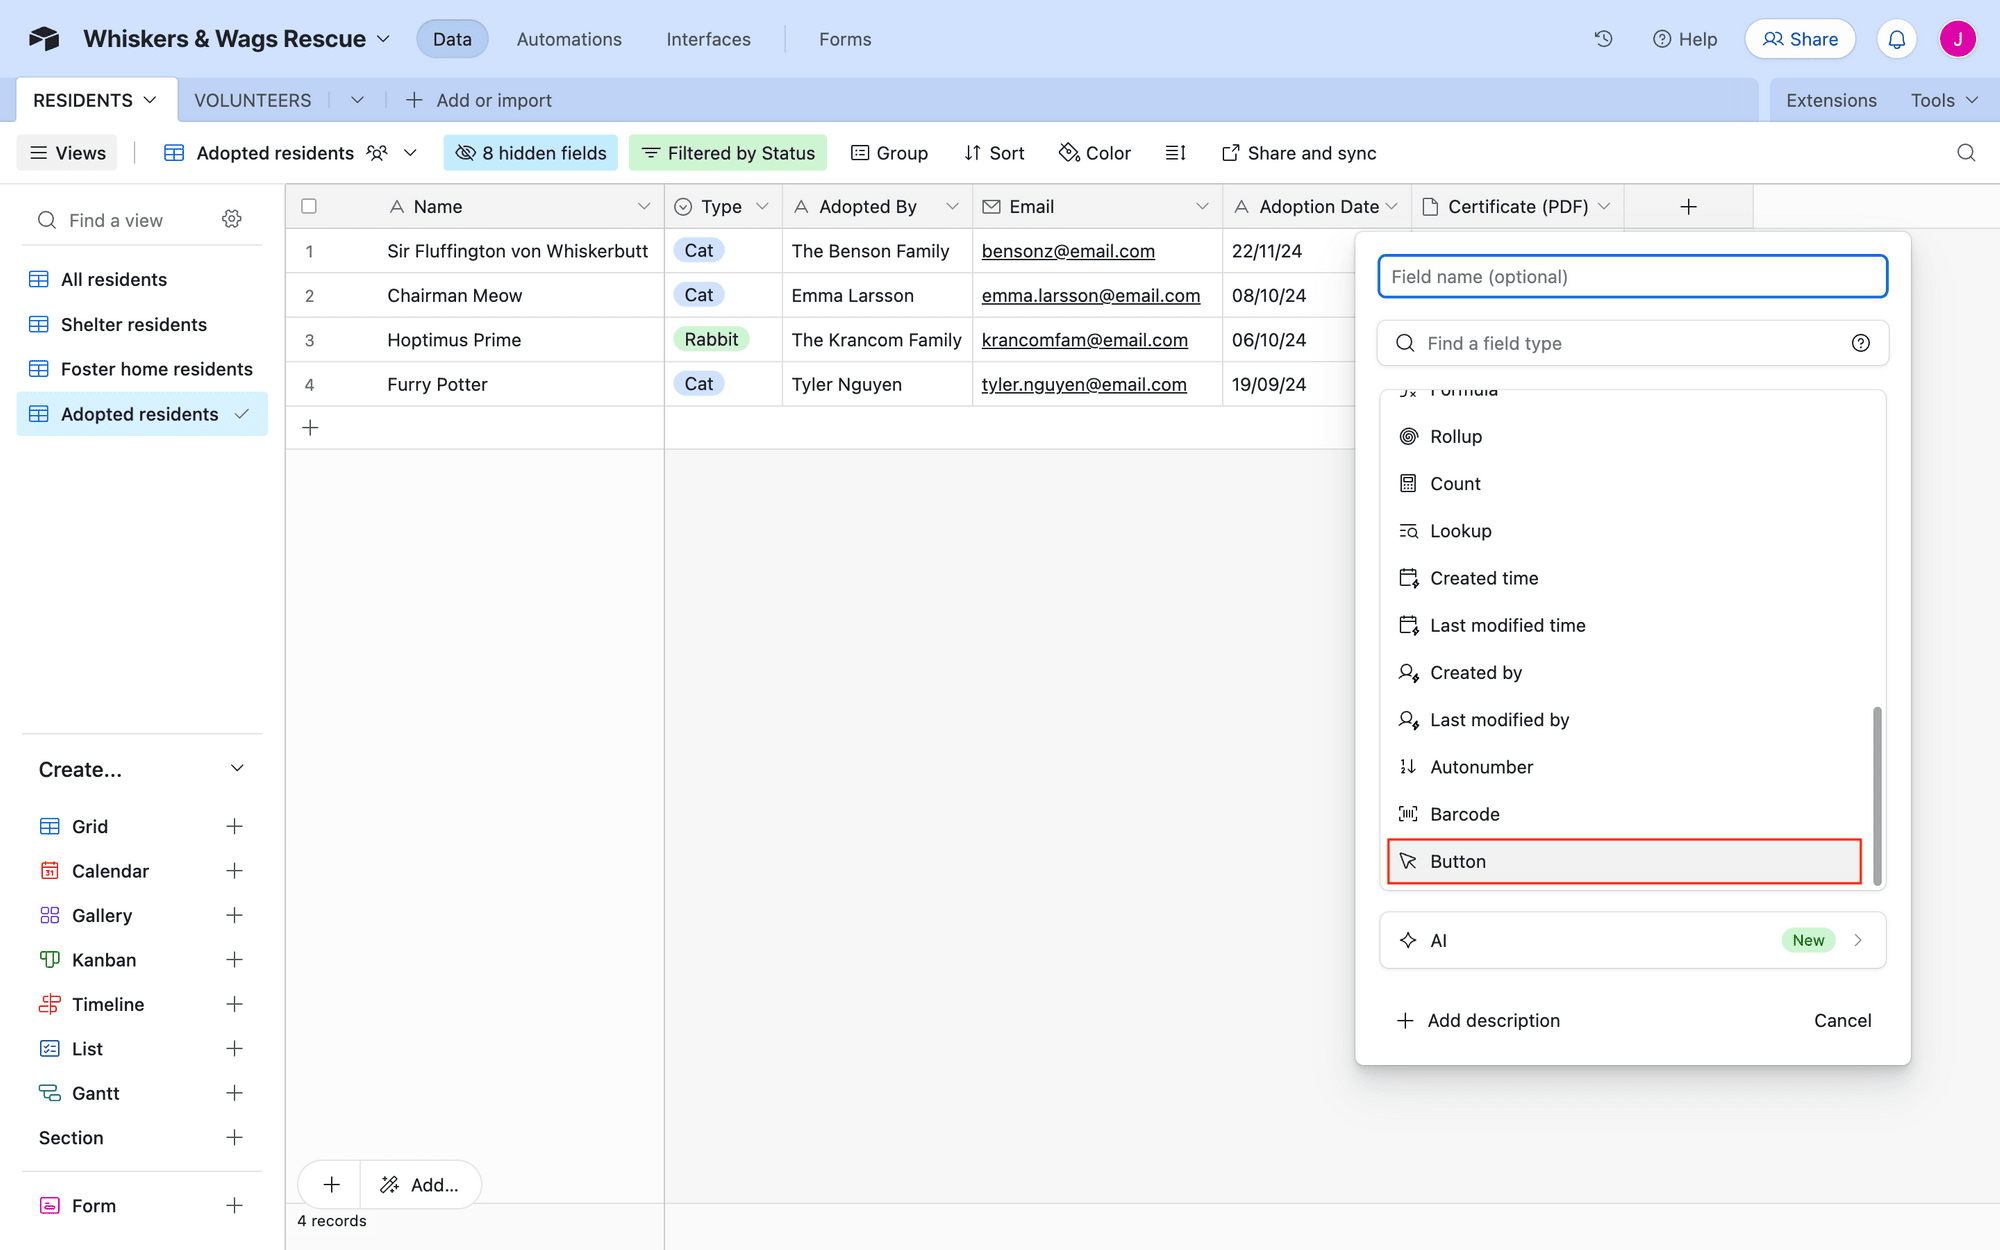
Customize it by giving it a name, label, and style. Choose Run script as the action, then select the corresponding dashboard and extension.
Save the field.
Step 5. Test the Process
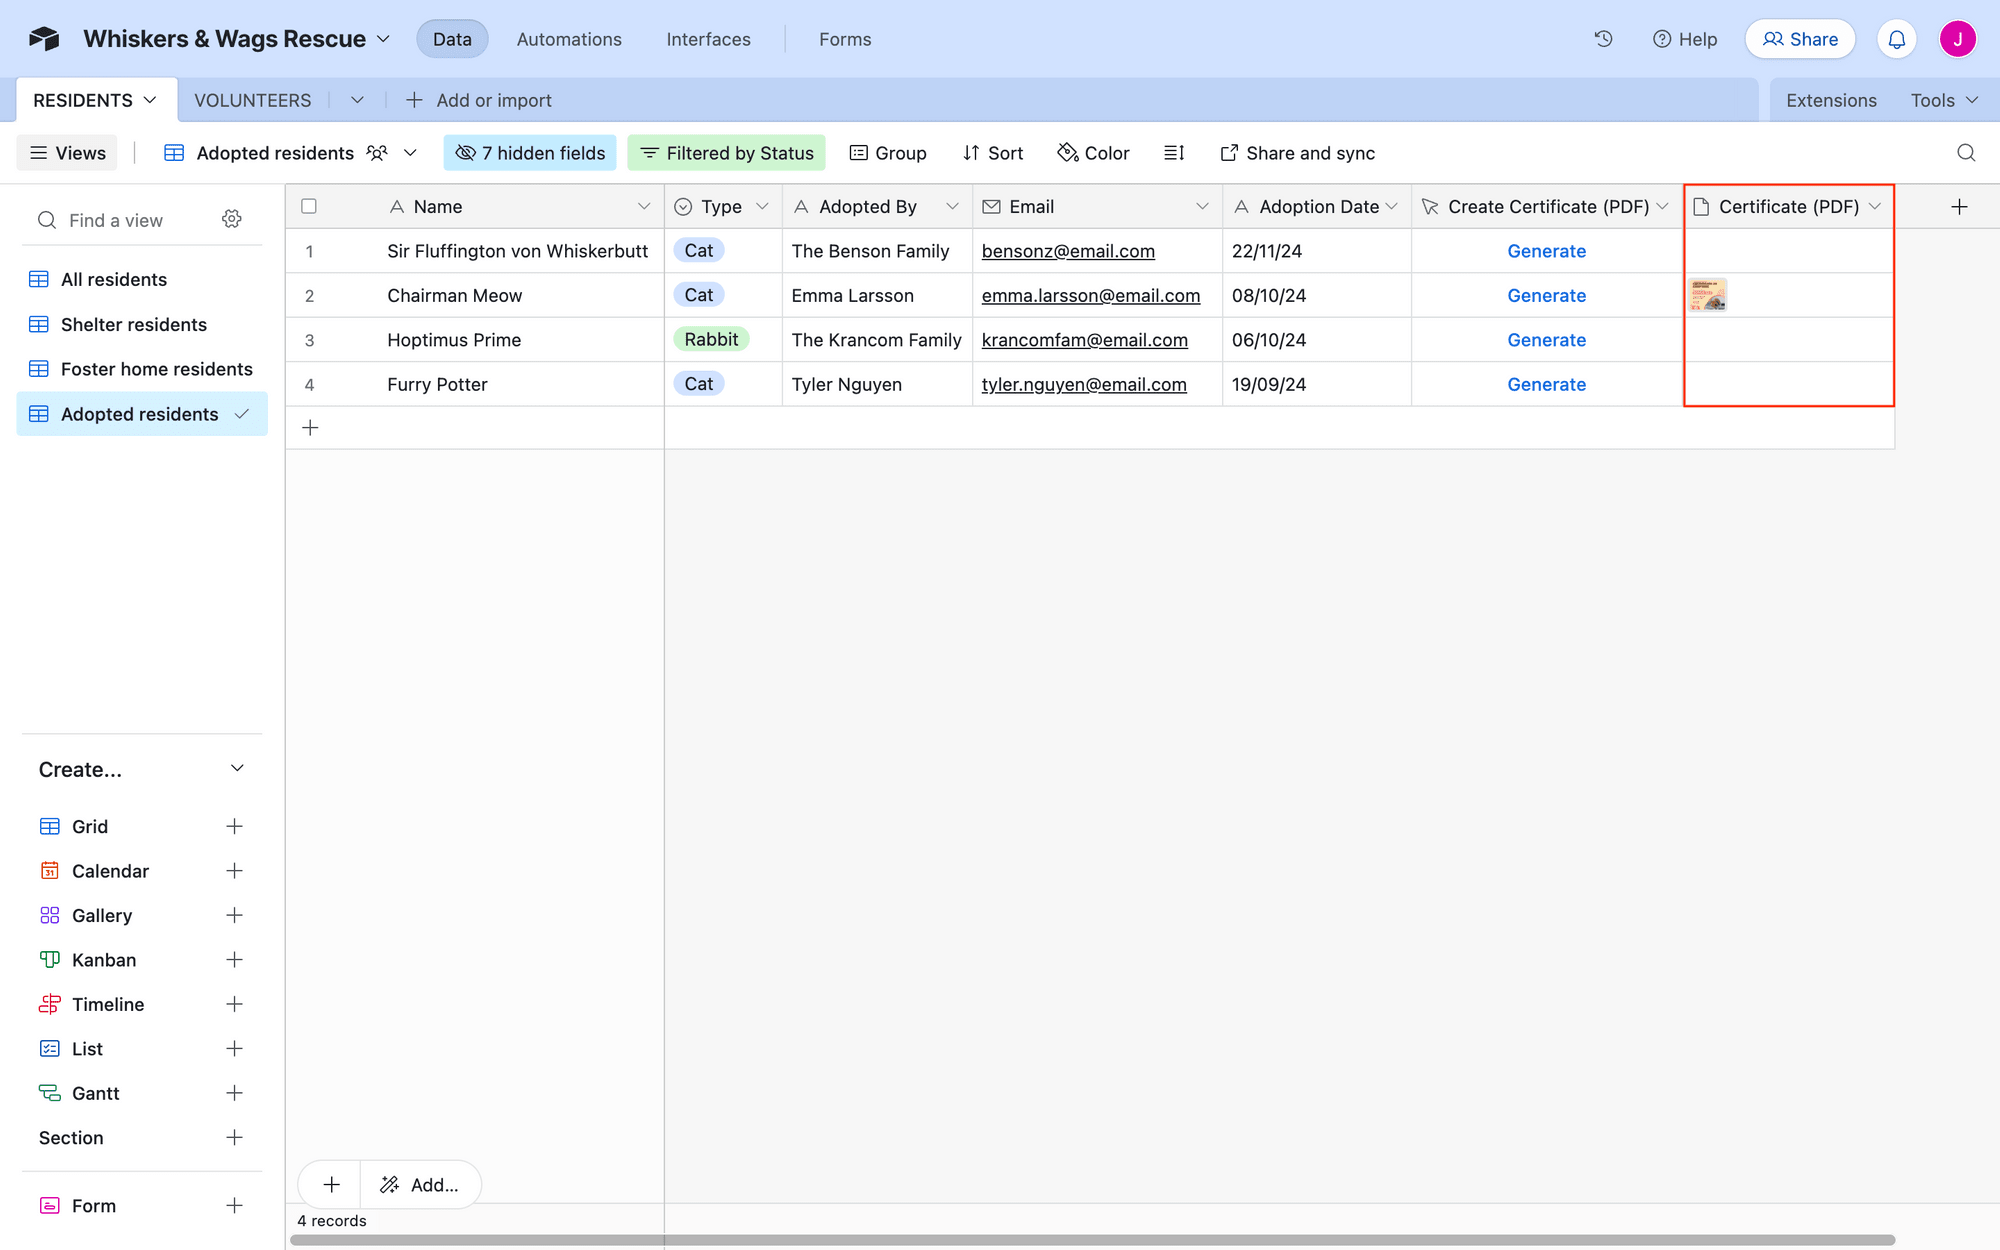
It’s time to see if everything was set up properly! Make sure you have a record populated with data that will go into your generated document. Click the Generate button.
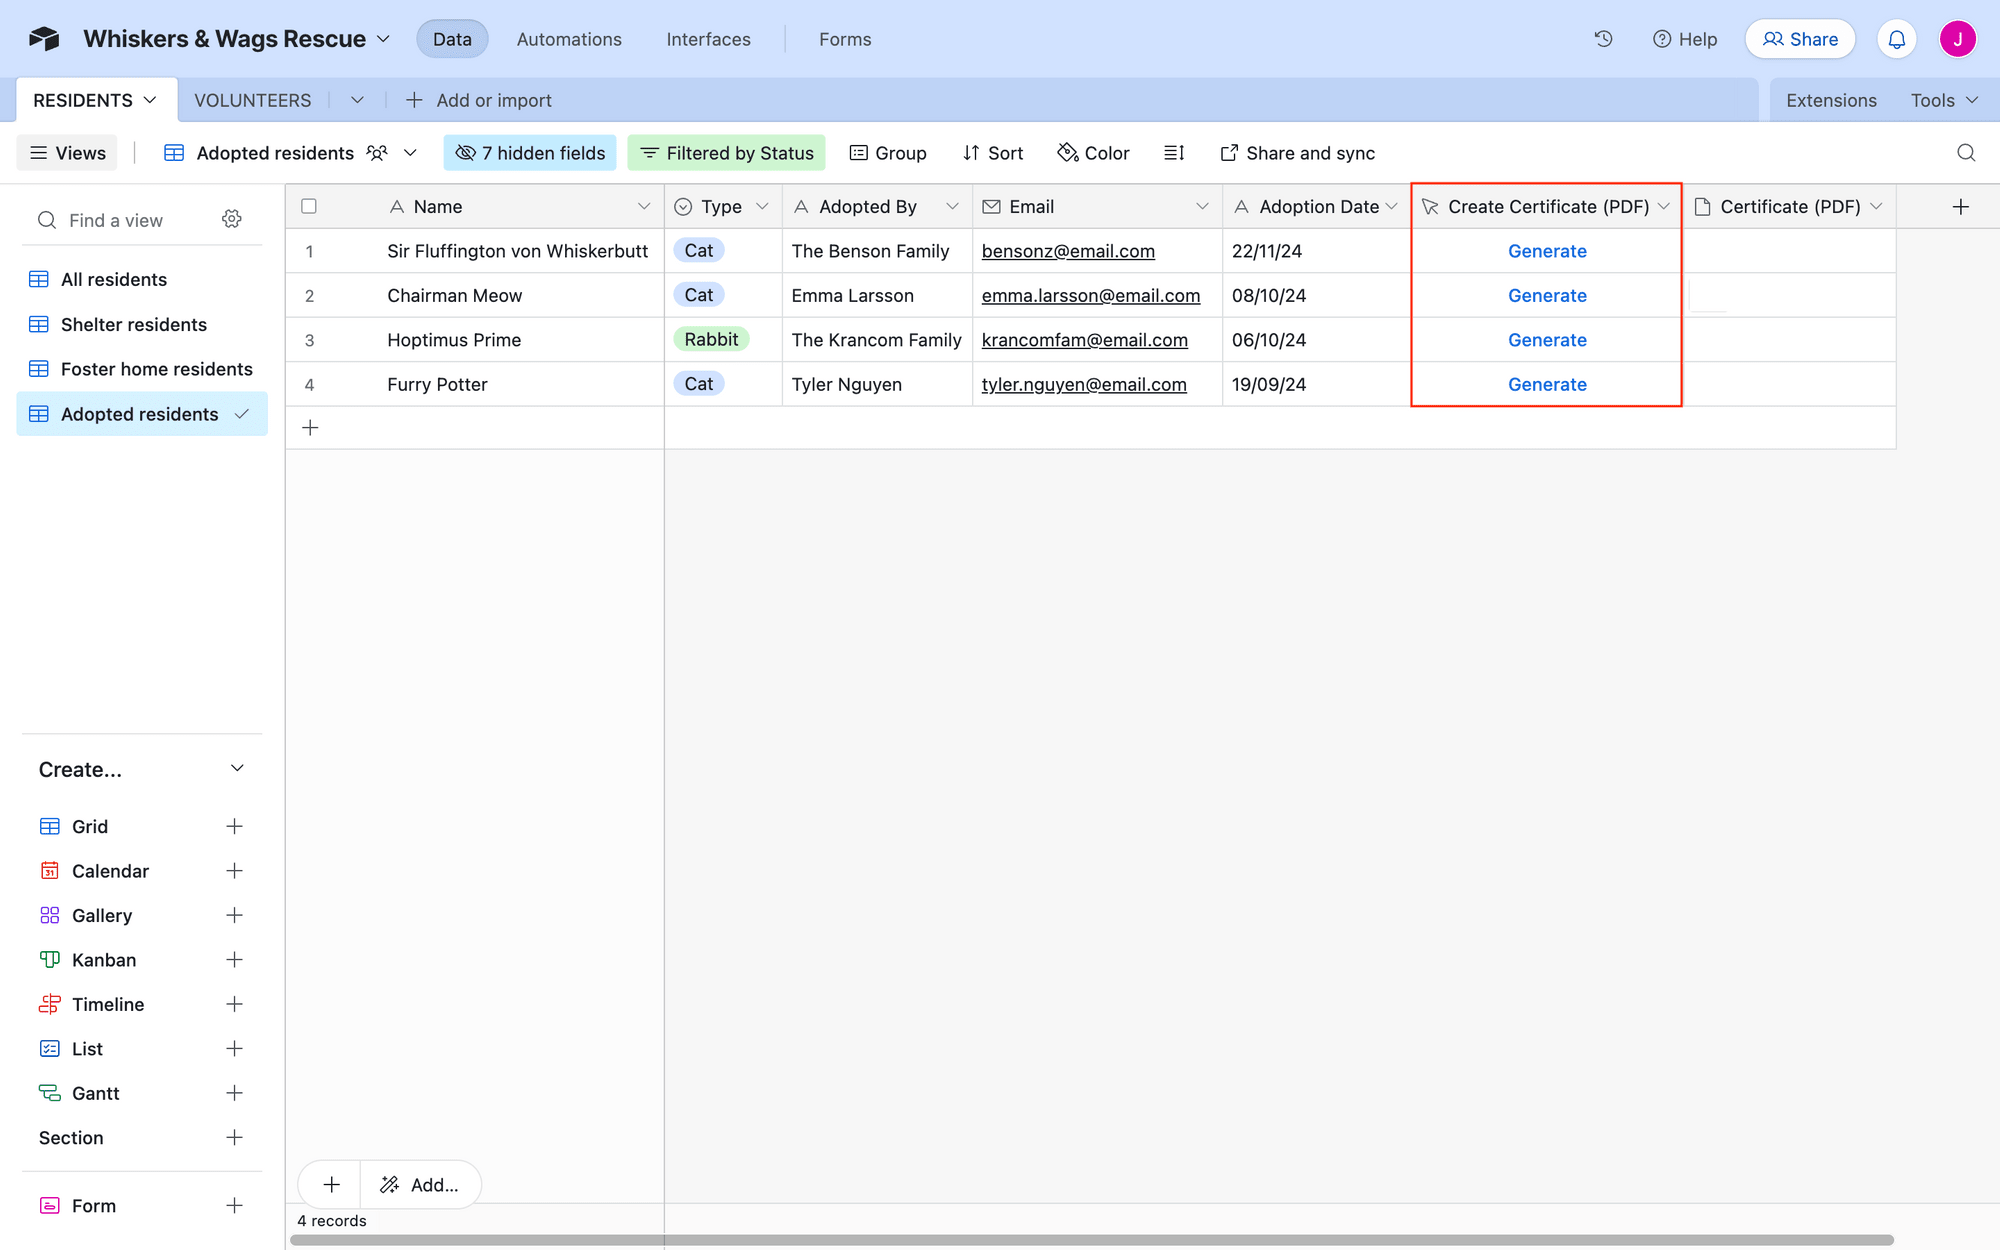
The extensions tab should open up to run your script, then populate the output field with the new PDF.
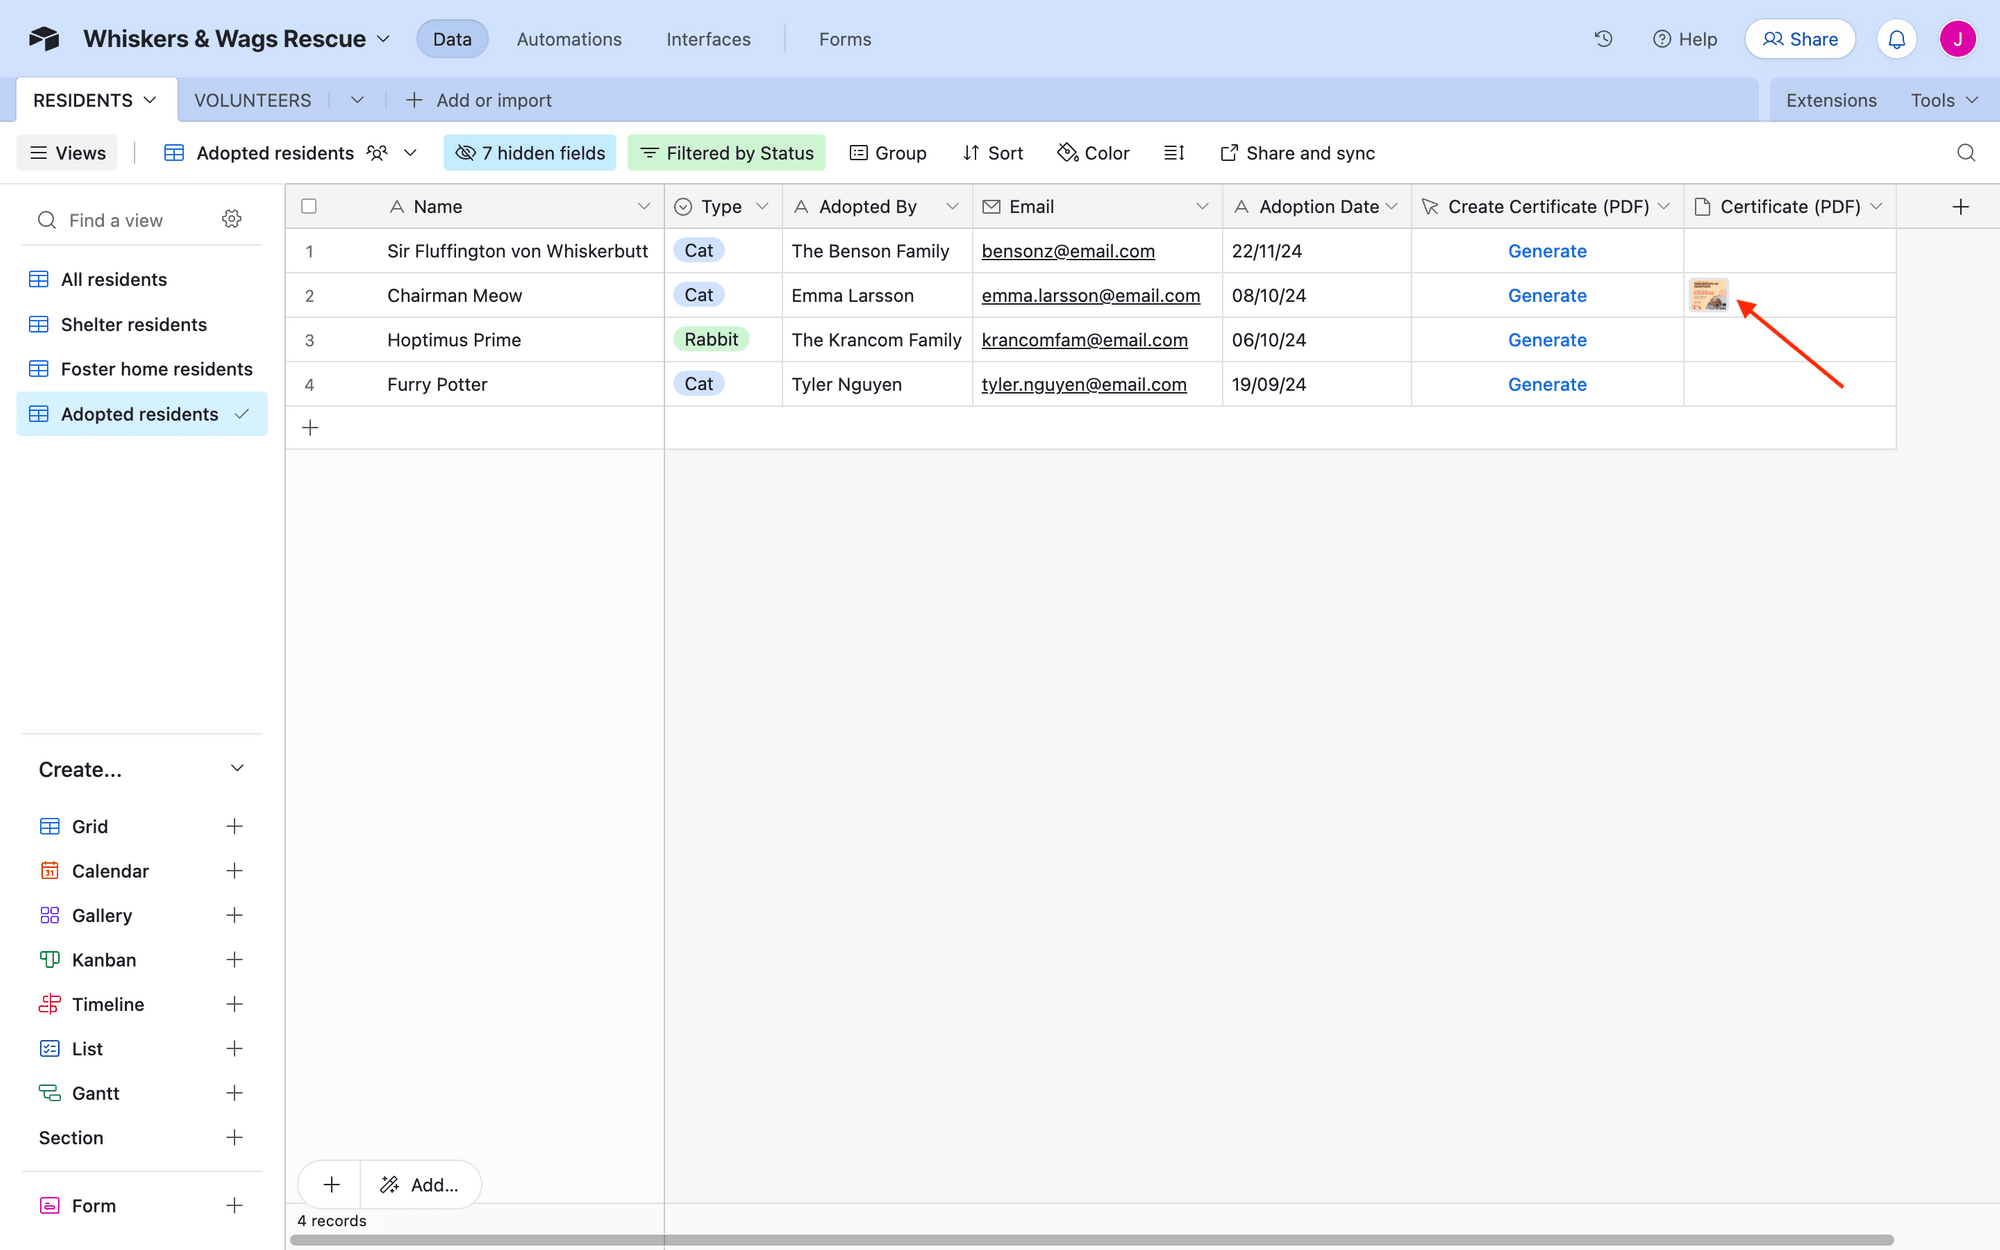
Clicking the attachment should reveal a generated document, like this:
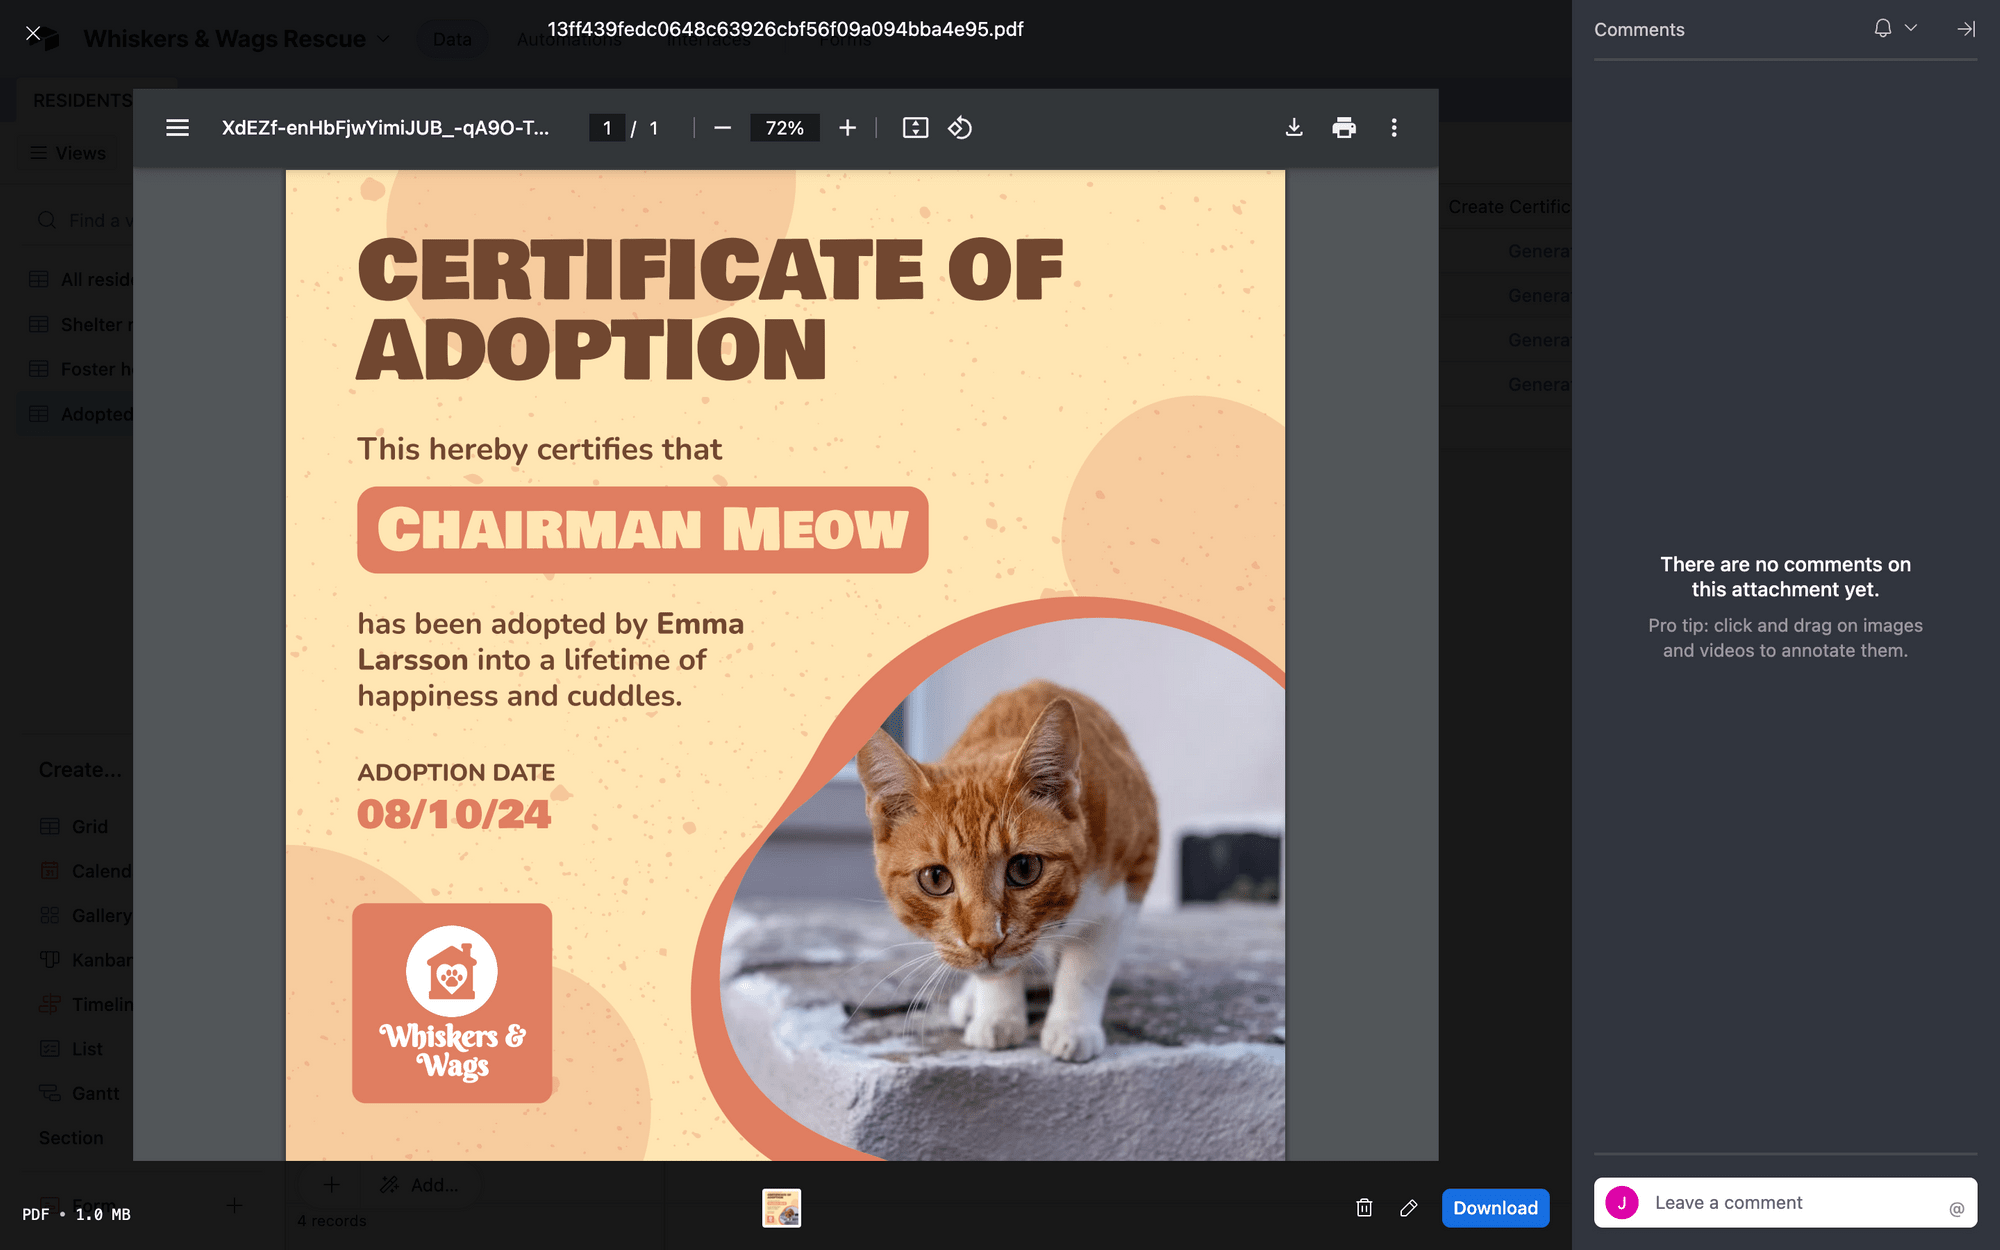
It’s as easy as that!
Conclusion
Making PDFs on-demand doesn’t have to be time-consuming. You can use automation to minimize the manual part of the process, simply kicking off generation when your record is ready. The on-demand nature of this workflow makes it ideal for documents like:
- Certificates
- Request forms
- Custom client reports
- Recommendation letters
- Personalized nutrition plans
Integrating Bannerbear’s image generating capabilities into your Airtable base also eliminates the need to switch between apps, so you can prepare documents as you update your database.
Need more ideas to supercharge your Airtable database with Bannerbear? Check out these articles:
👉 How to Save Generated PDFs to Airtable with Zapier
👉 How to Generate Bannerbear Images with Airtable (Integration Guide)
👉 How to Instantly Generate Certificates Online with Bannerbear and Airtable
